


รายละเอียดสินค้า
| ข้อมูล |
น้ำหนัก
บาร์โค้ด
ลงสินค้า
อัพเดทล่าสุด
|
| รายละเอียดสินค้า |
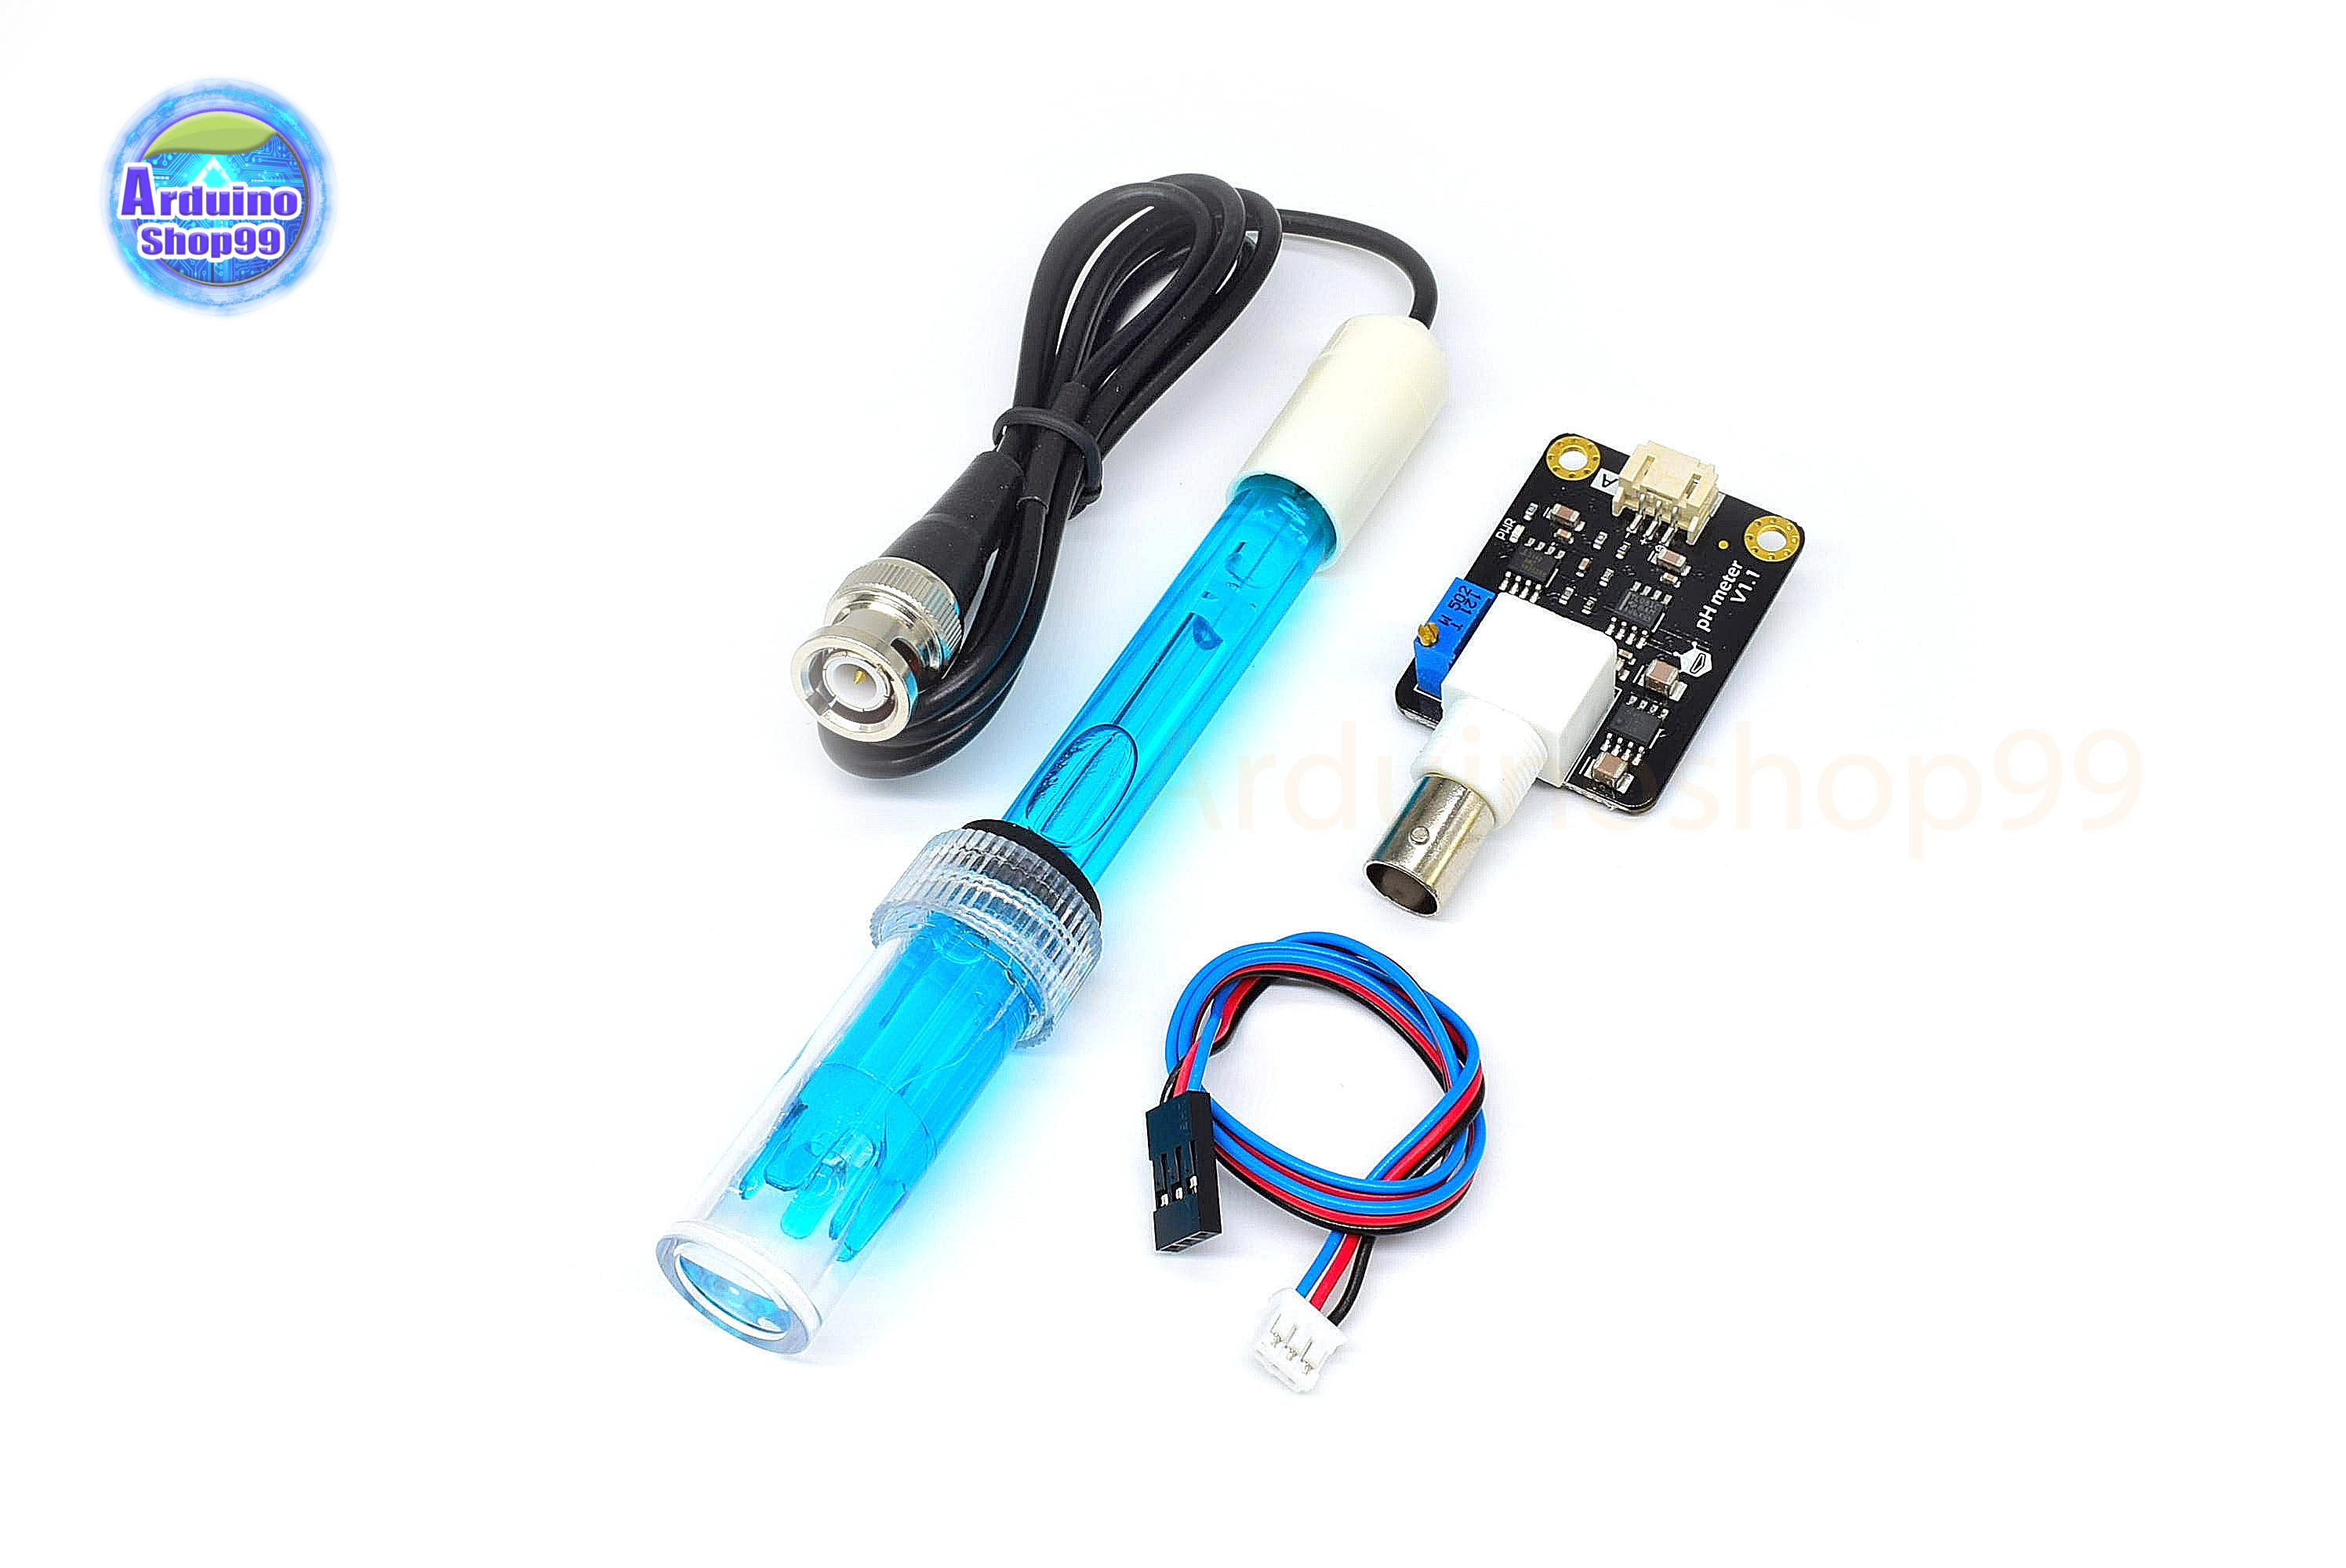
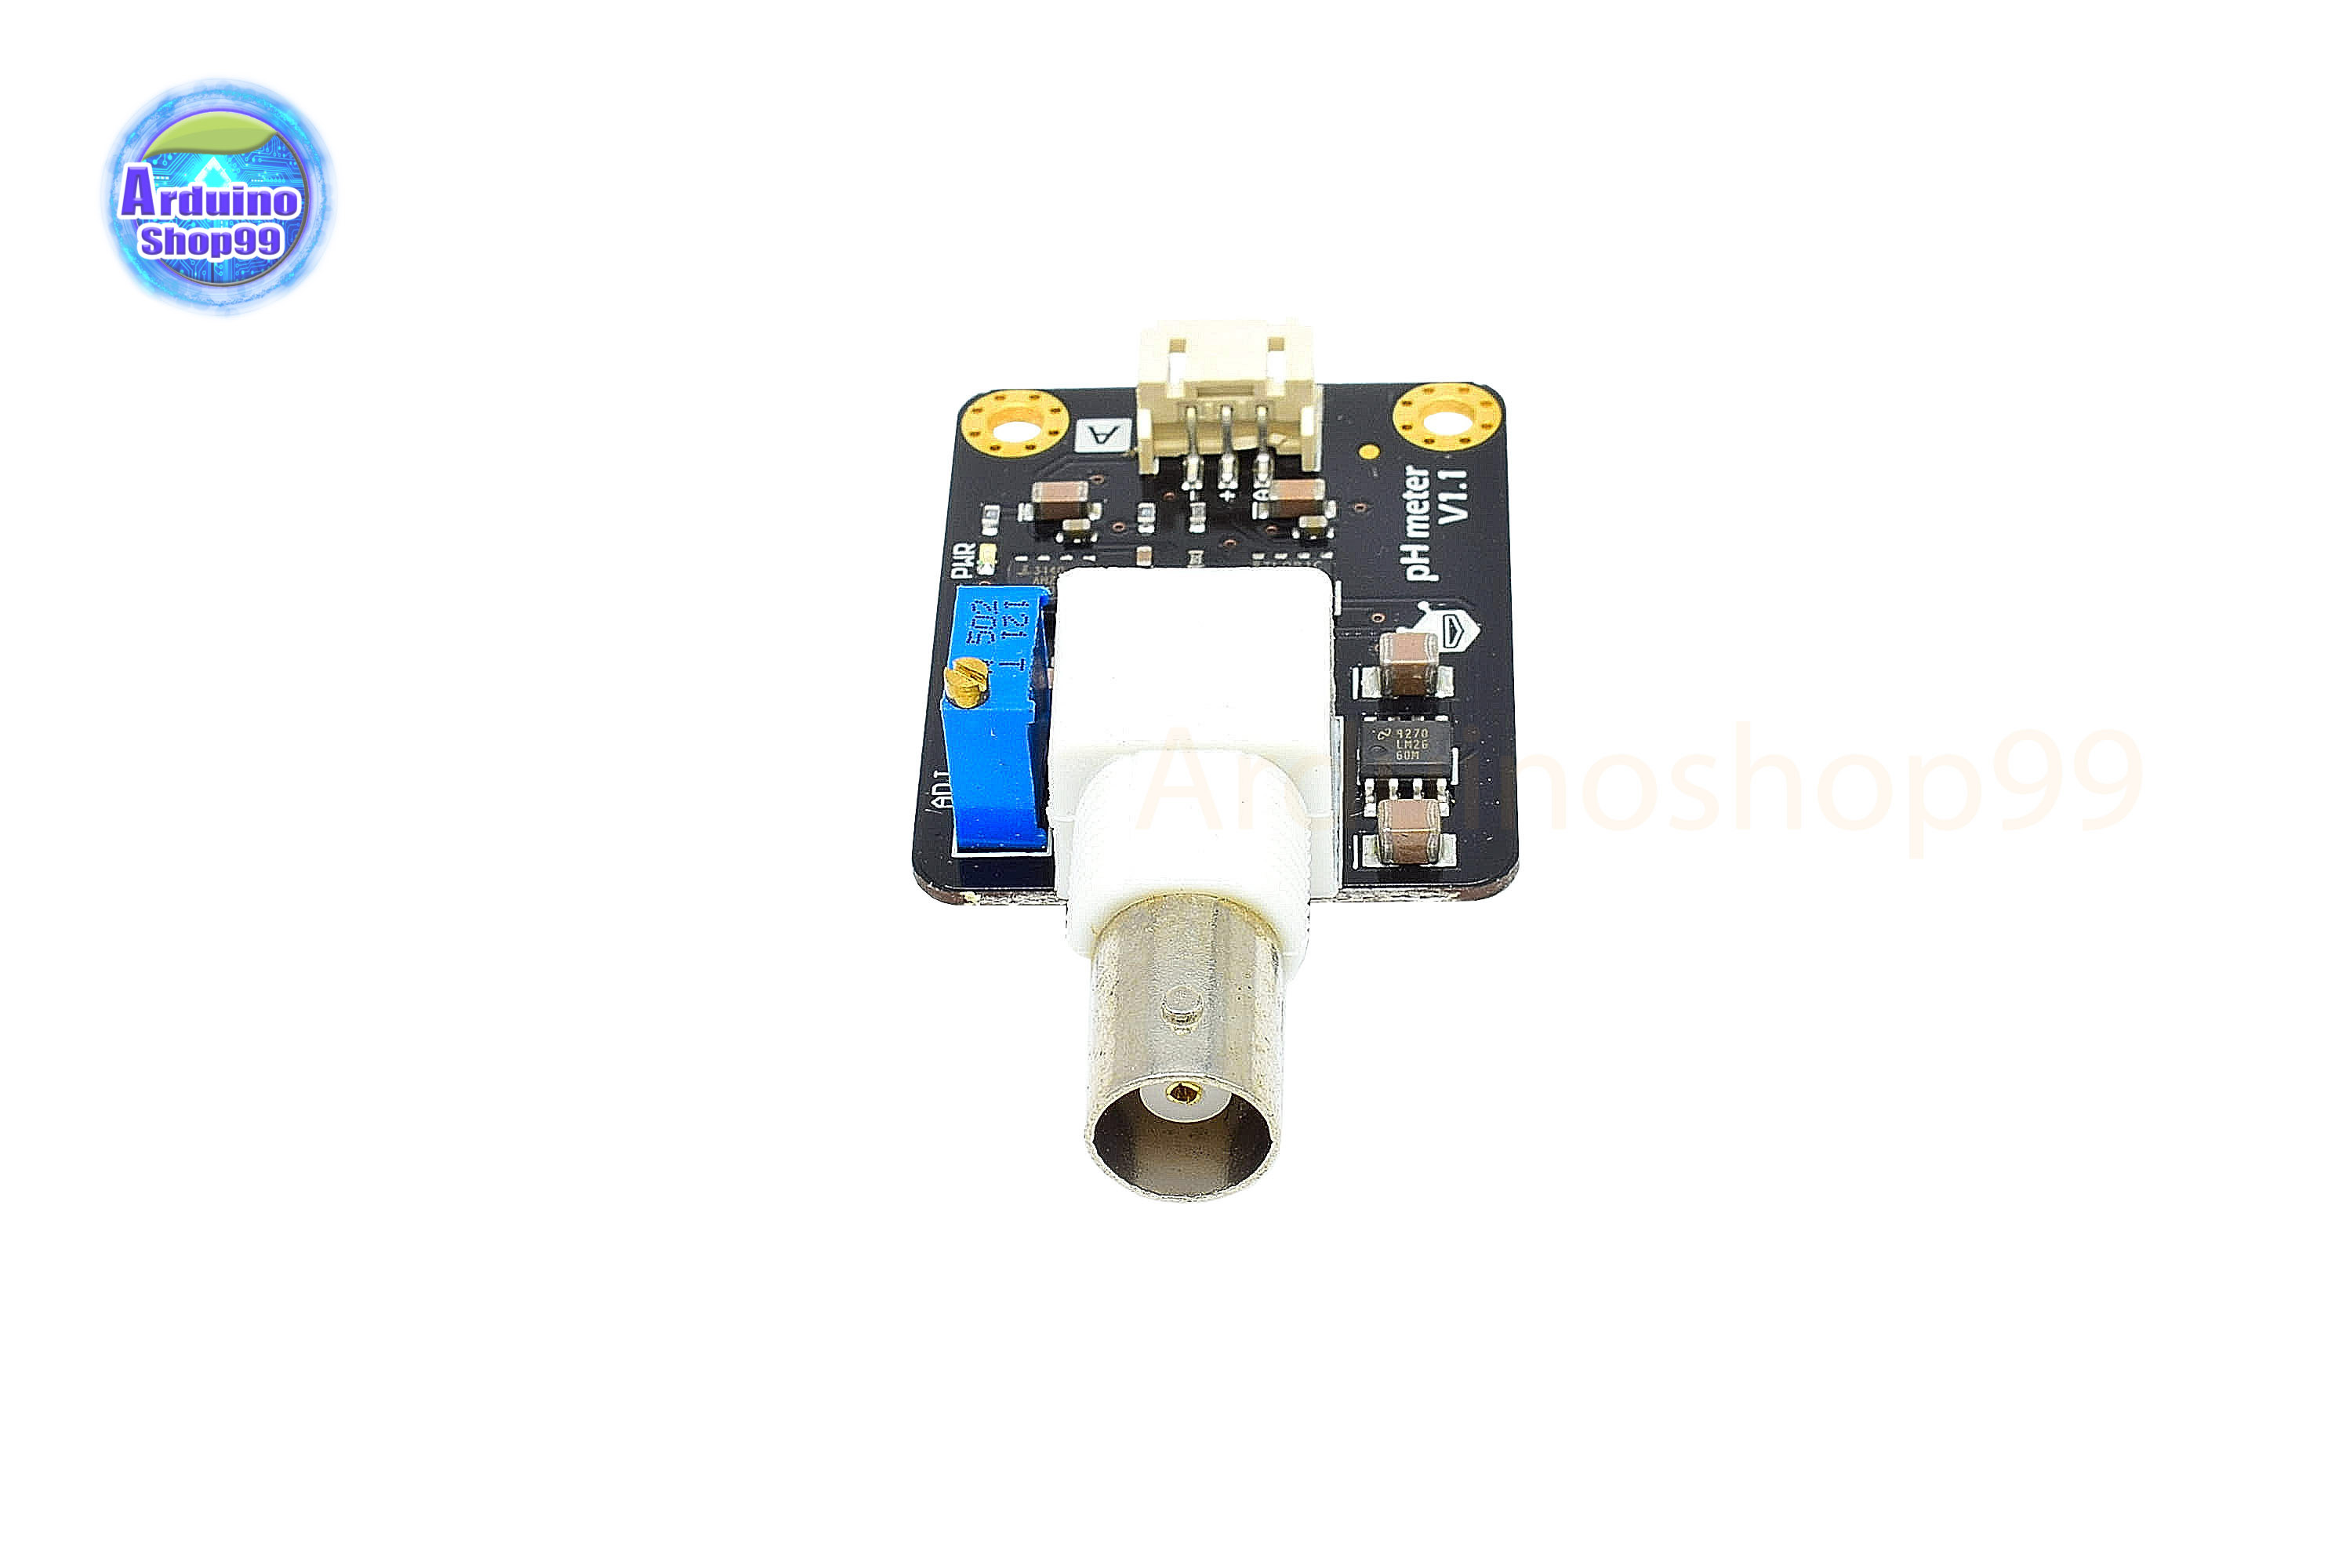
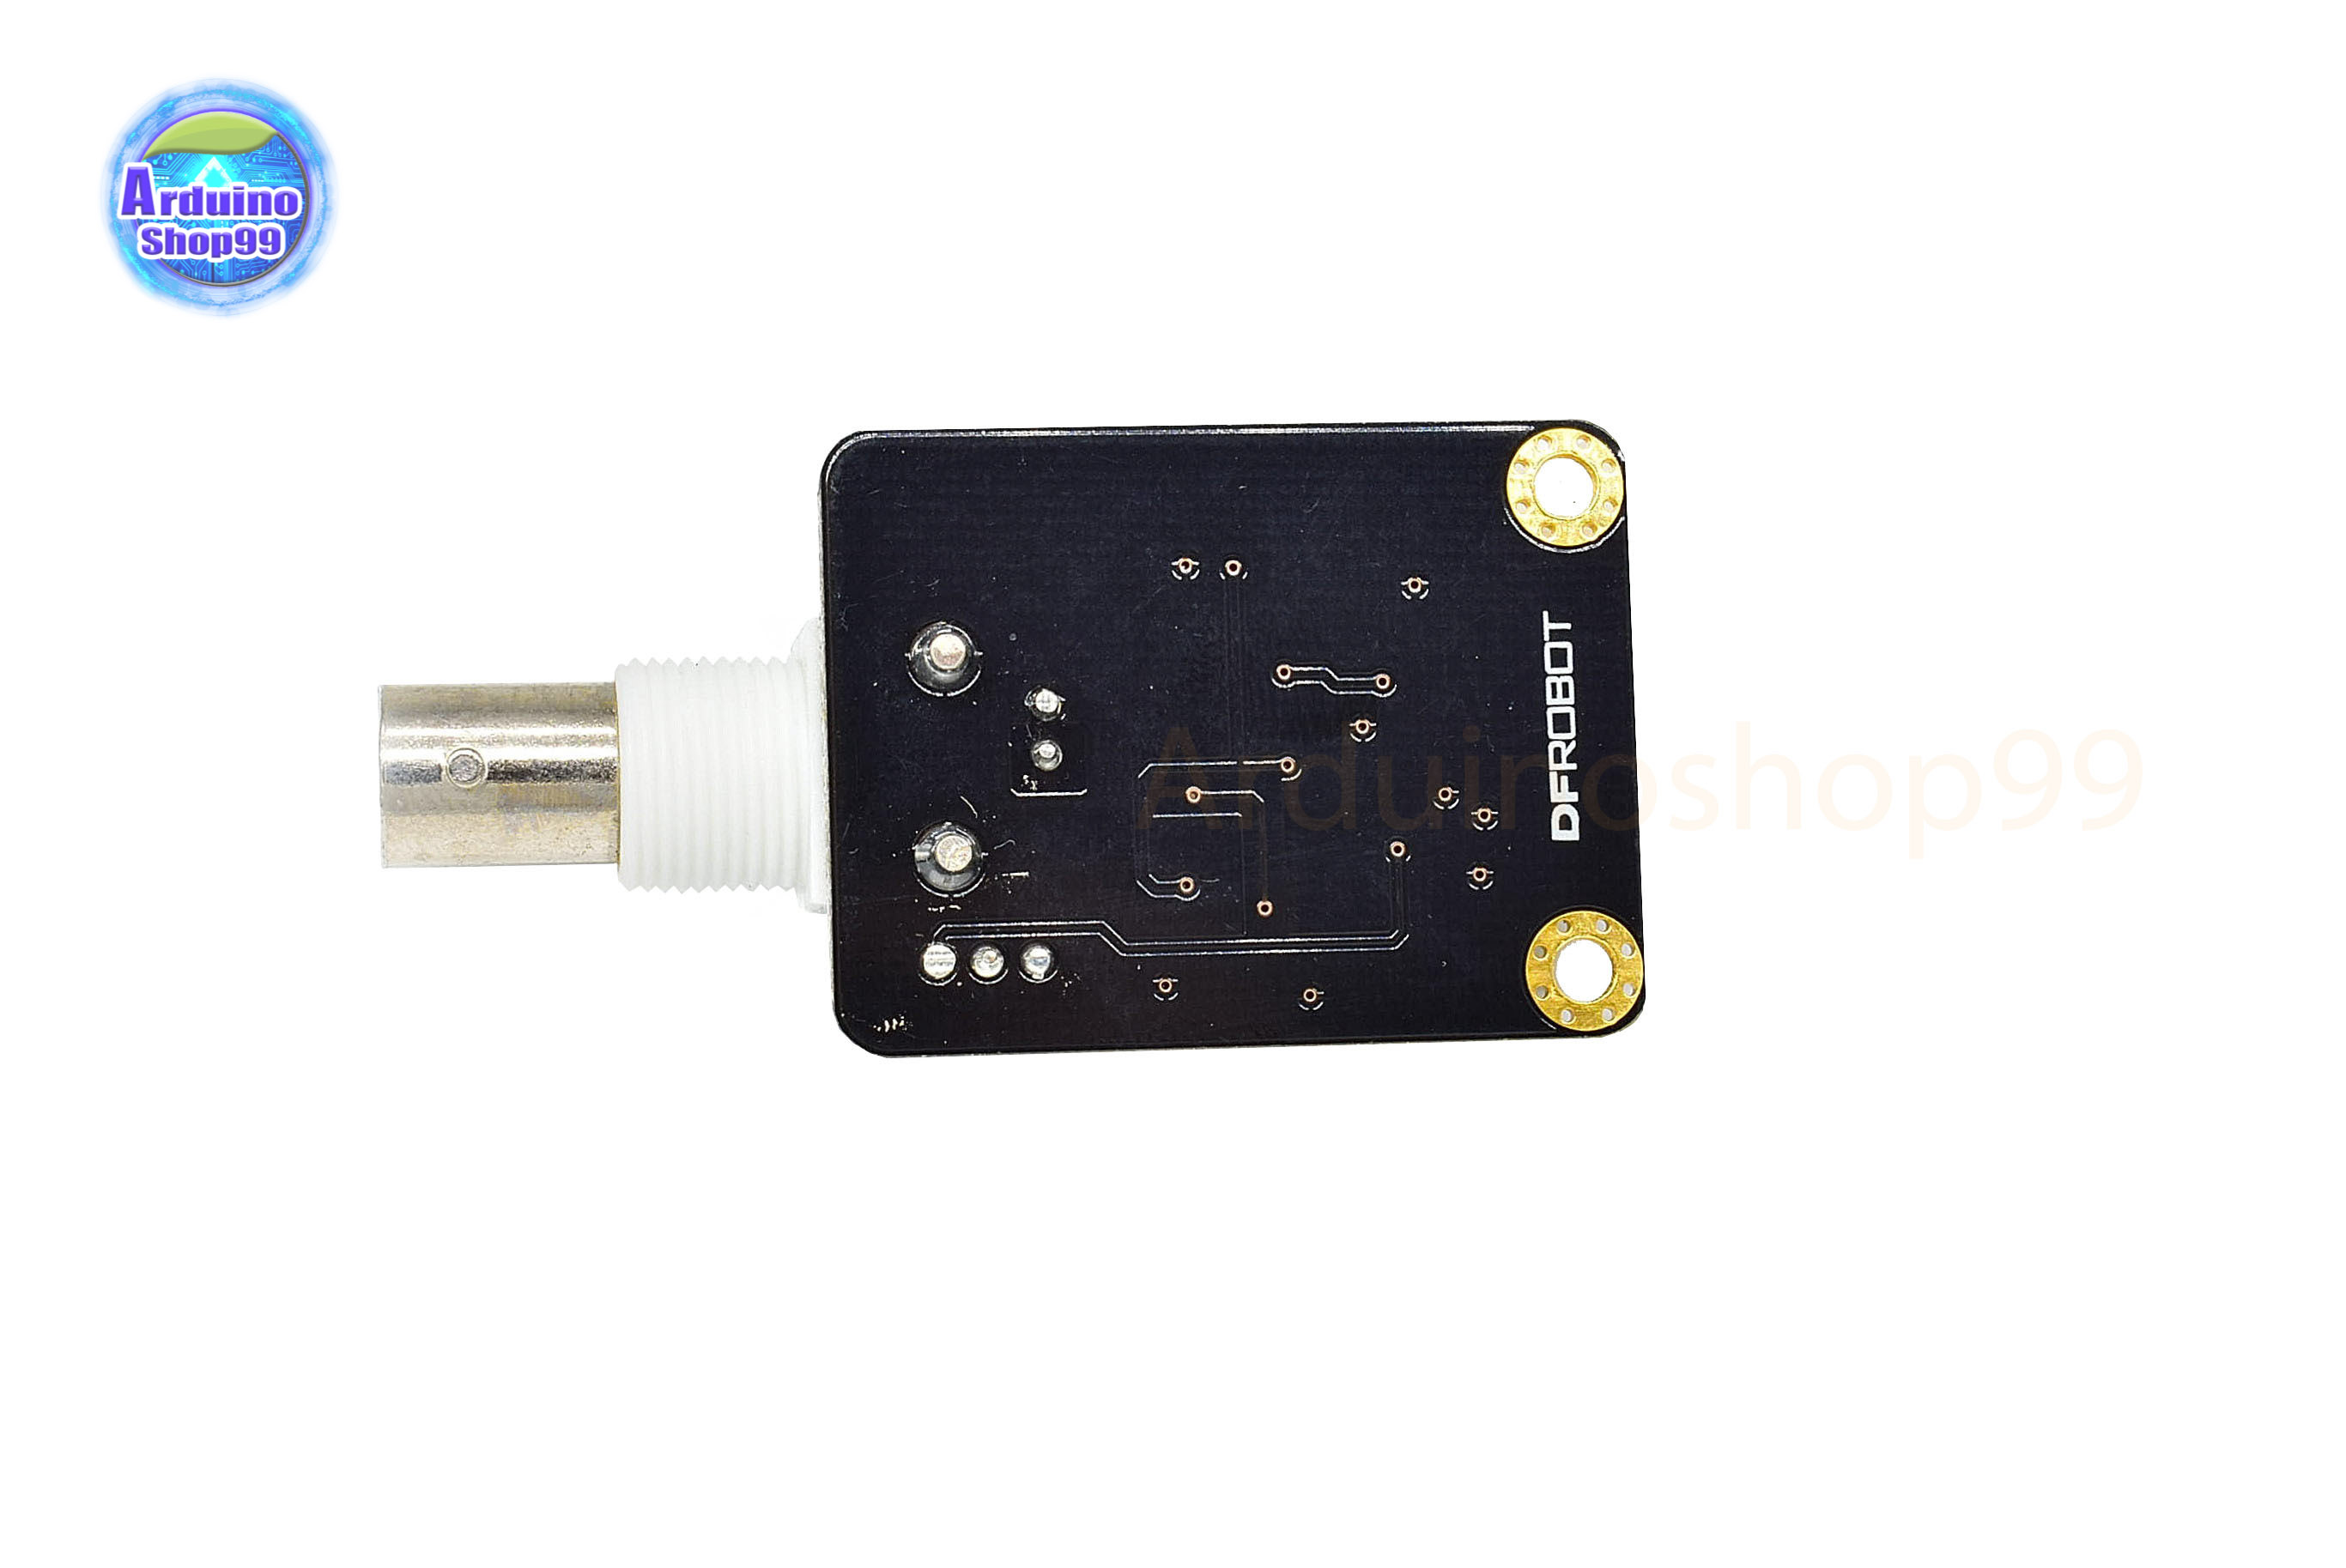
PH Sensor arduino Analog pH Meter วัดค่า PH ของน้ำ ( DFRobot )
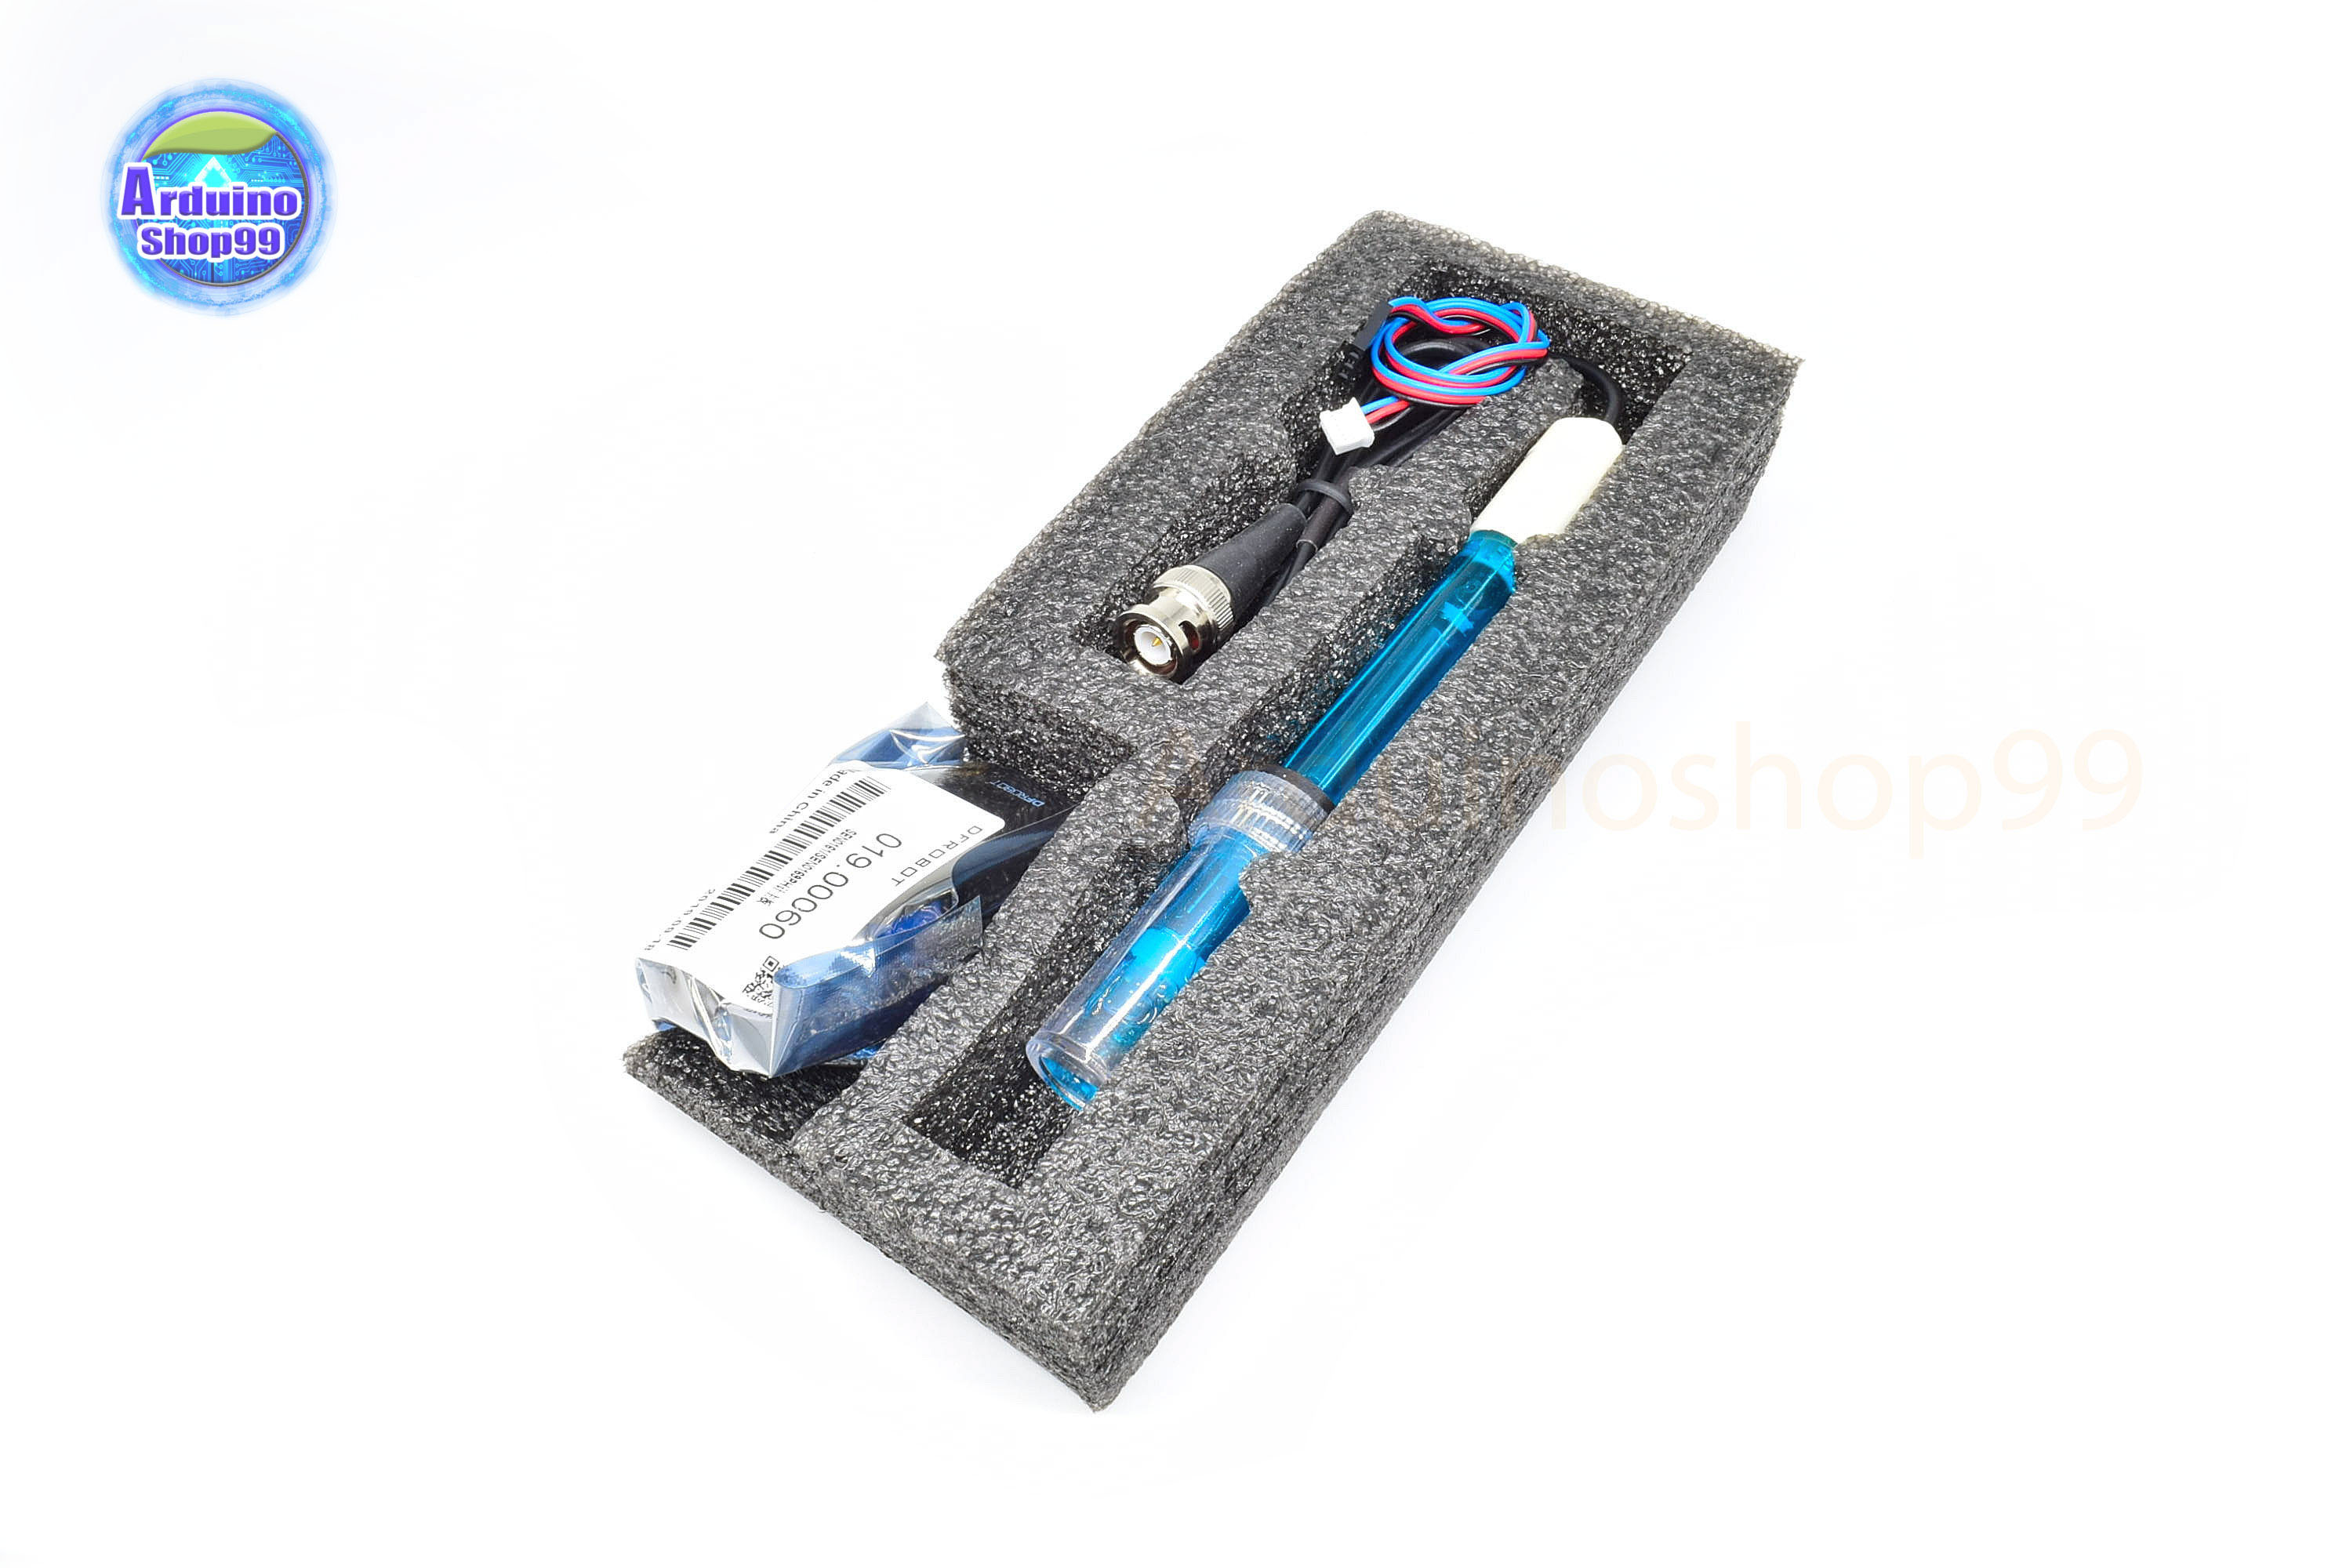
Need to measure water quality and other parameters but haven't got any low cost pH meter? Find it difficult to use with Arduino ? Here comes an analog pH meter, specially designed for Arduino controllers and has built-in simple, convenient and practical connection and features. It has an LED which works as the Power Indicator, a BNC connector and PH2.0 sensor interface. To use it, just connect the pH sensor with BNC connector, and plug the PH2.0 interface into the analog input port of any Arduino controller . If pre-programmed, you will get the pH value easily. Comes in compact plastic box with foams for better mobile storage. Attention: In order to ensure the accuracy of the pH probe, you need to use the standard solution to calibrate it regularly.Generally, the period is about half a year. If you meaure the dirty aqueous solution, you need to increase the frequency of calibration.
Applications
Specification
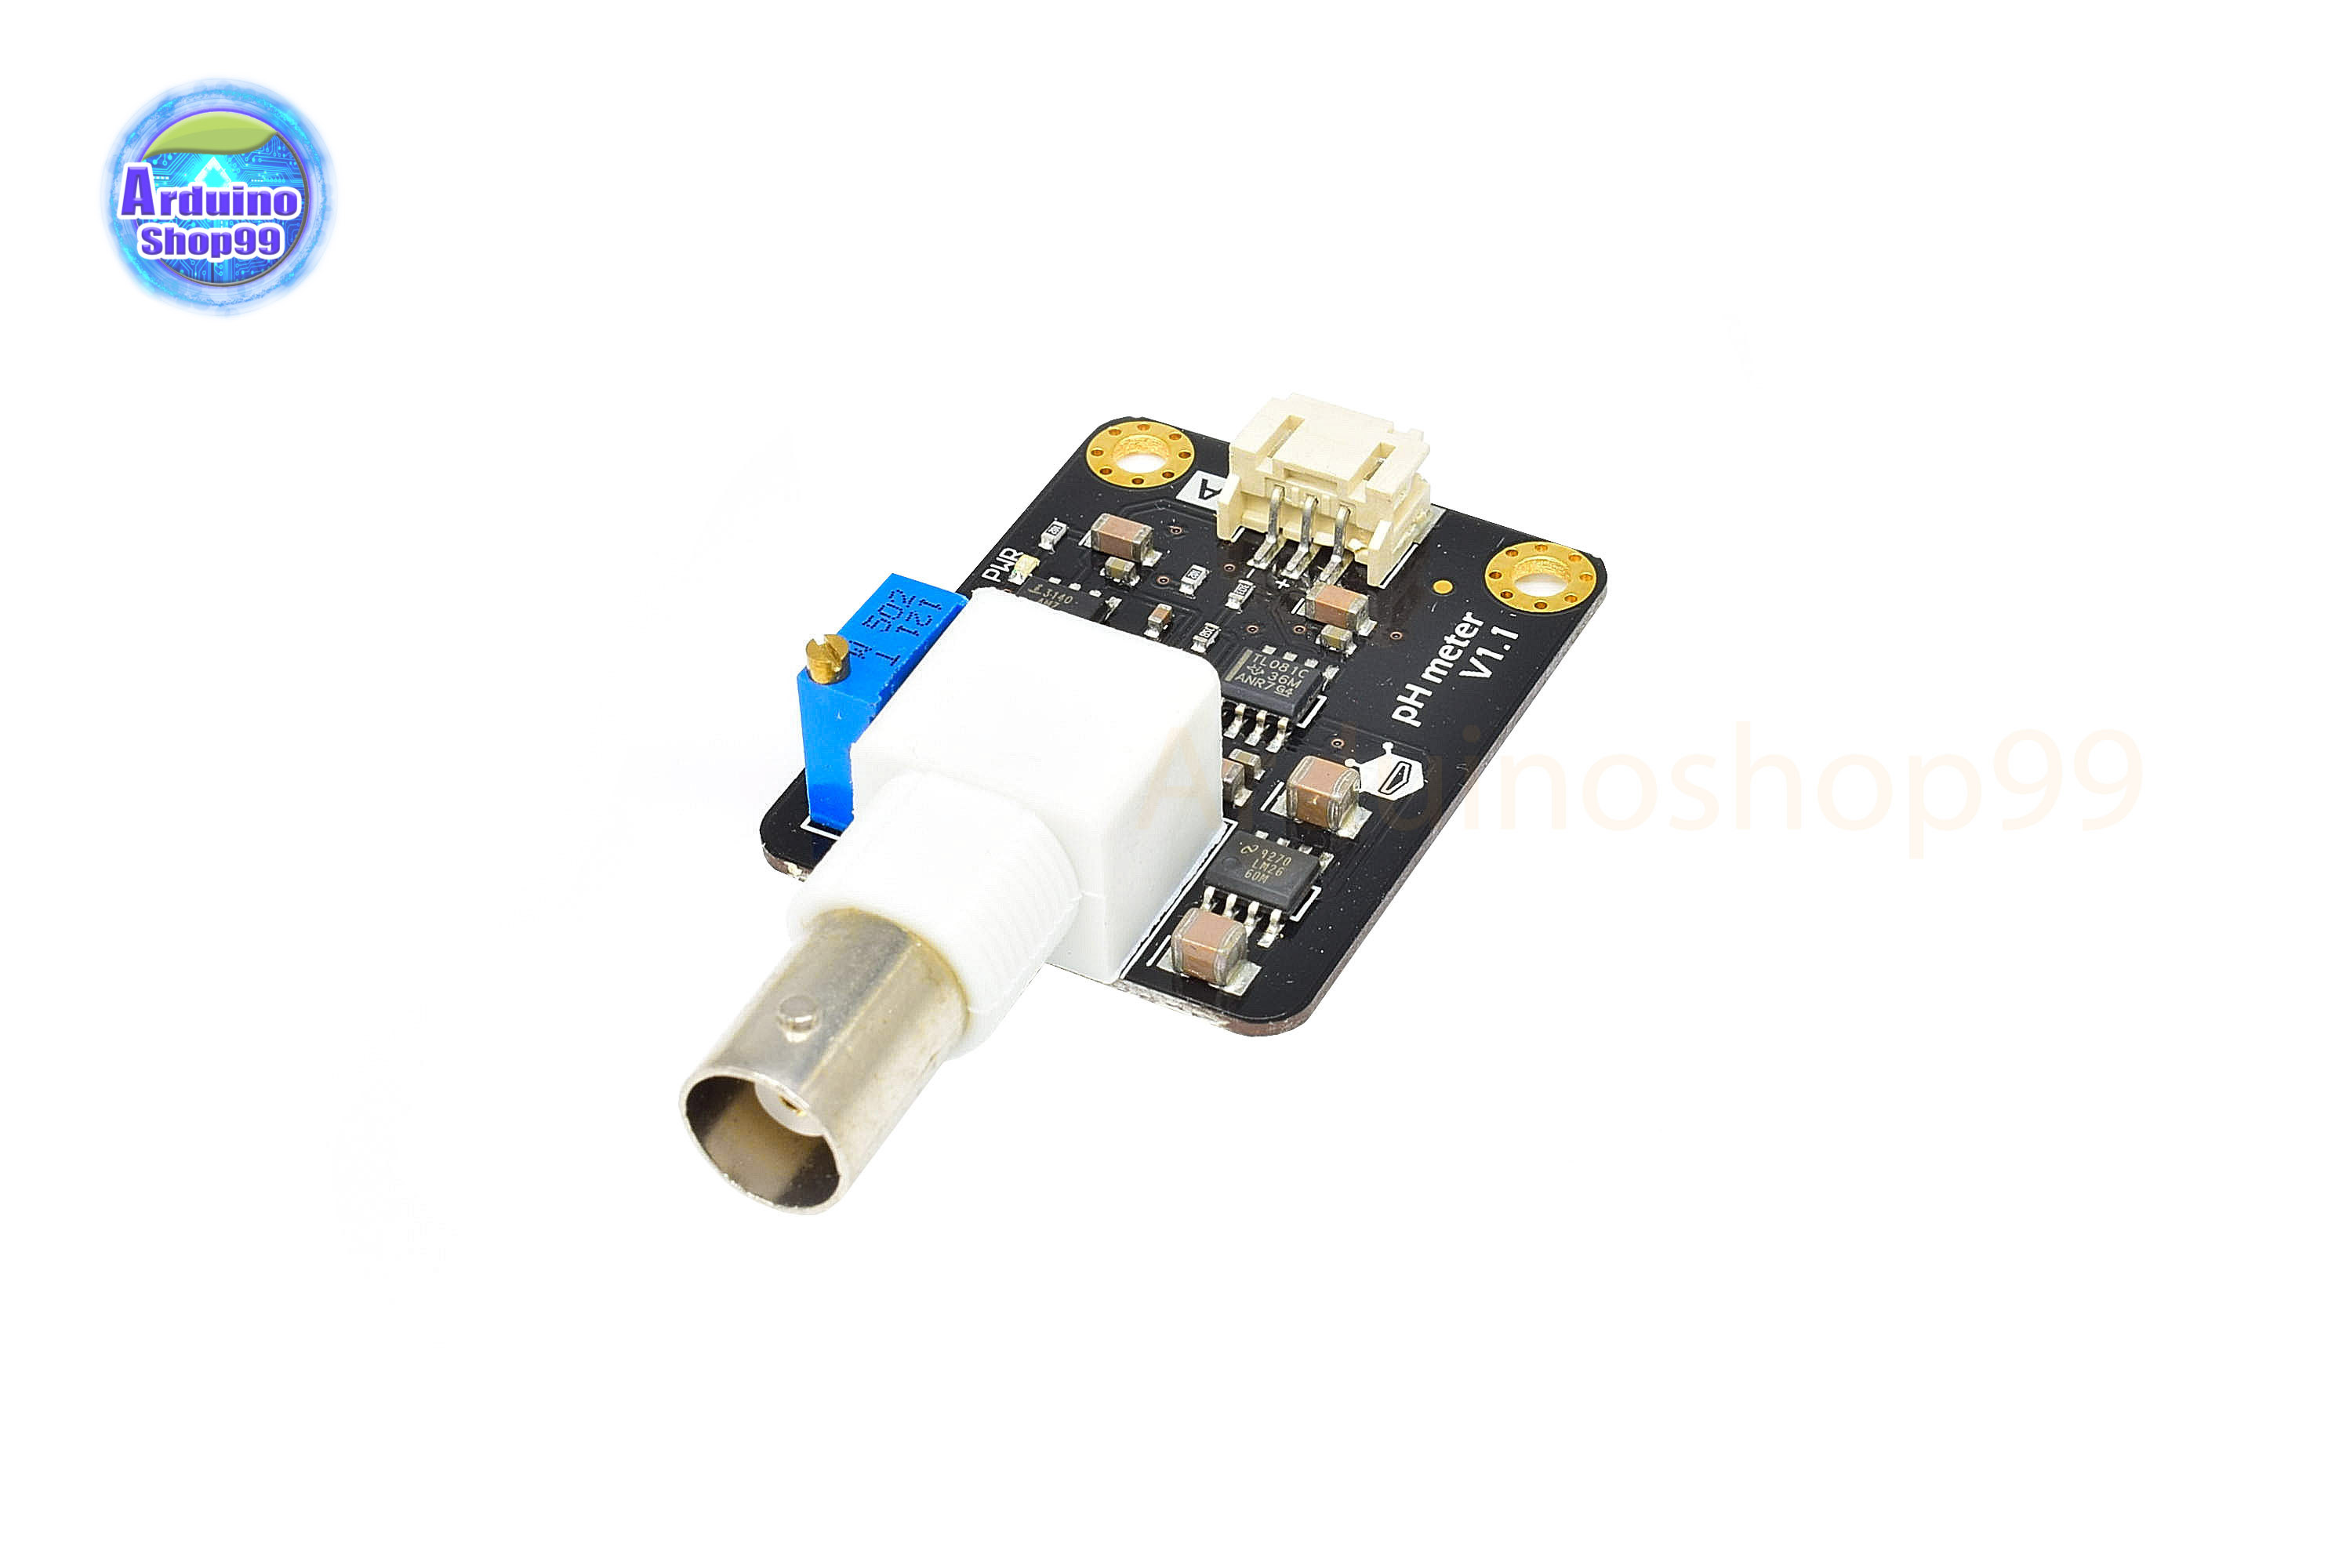
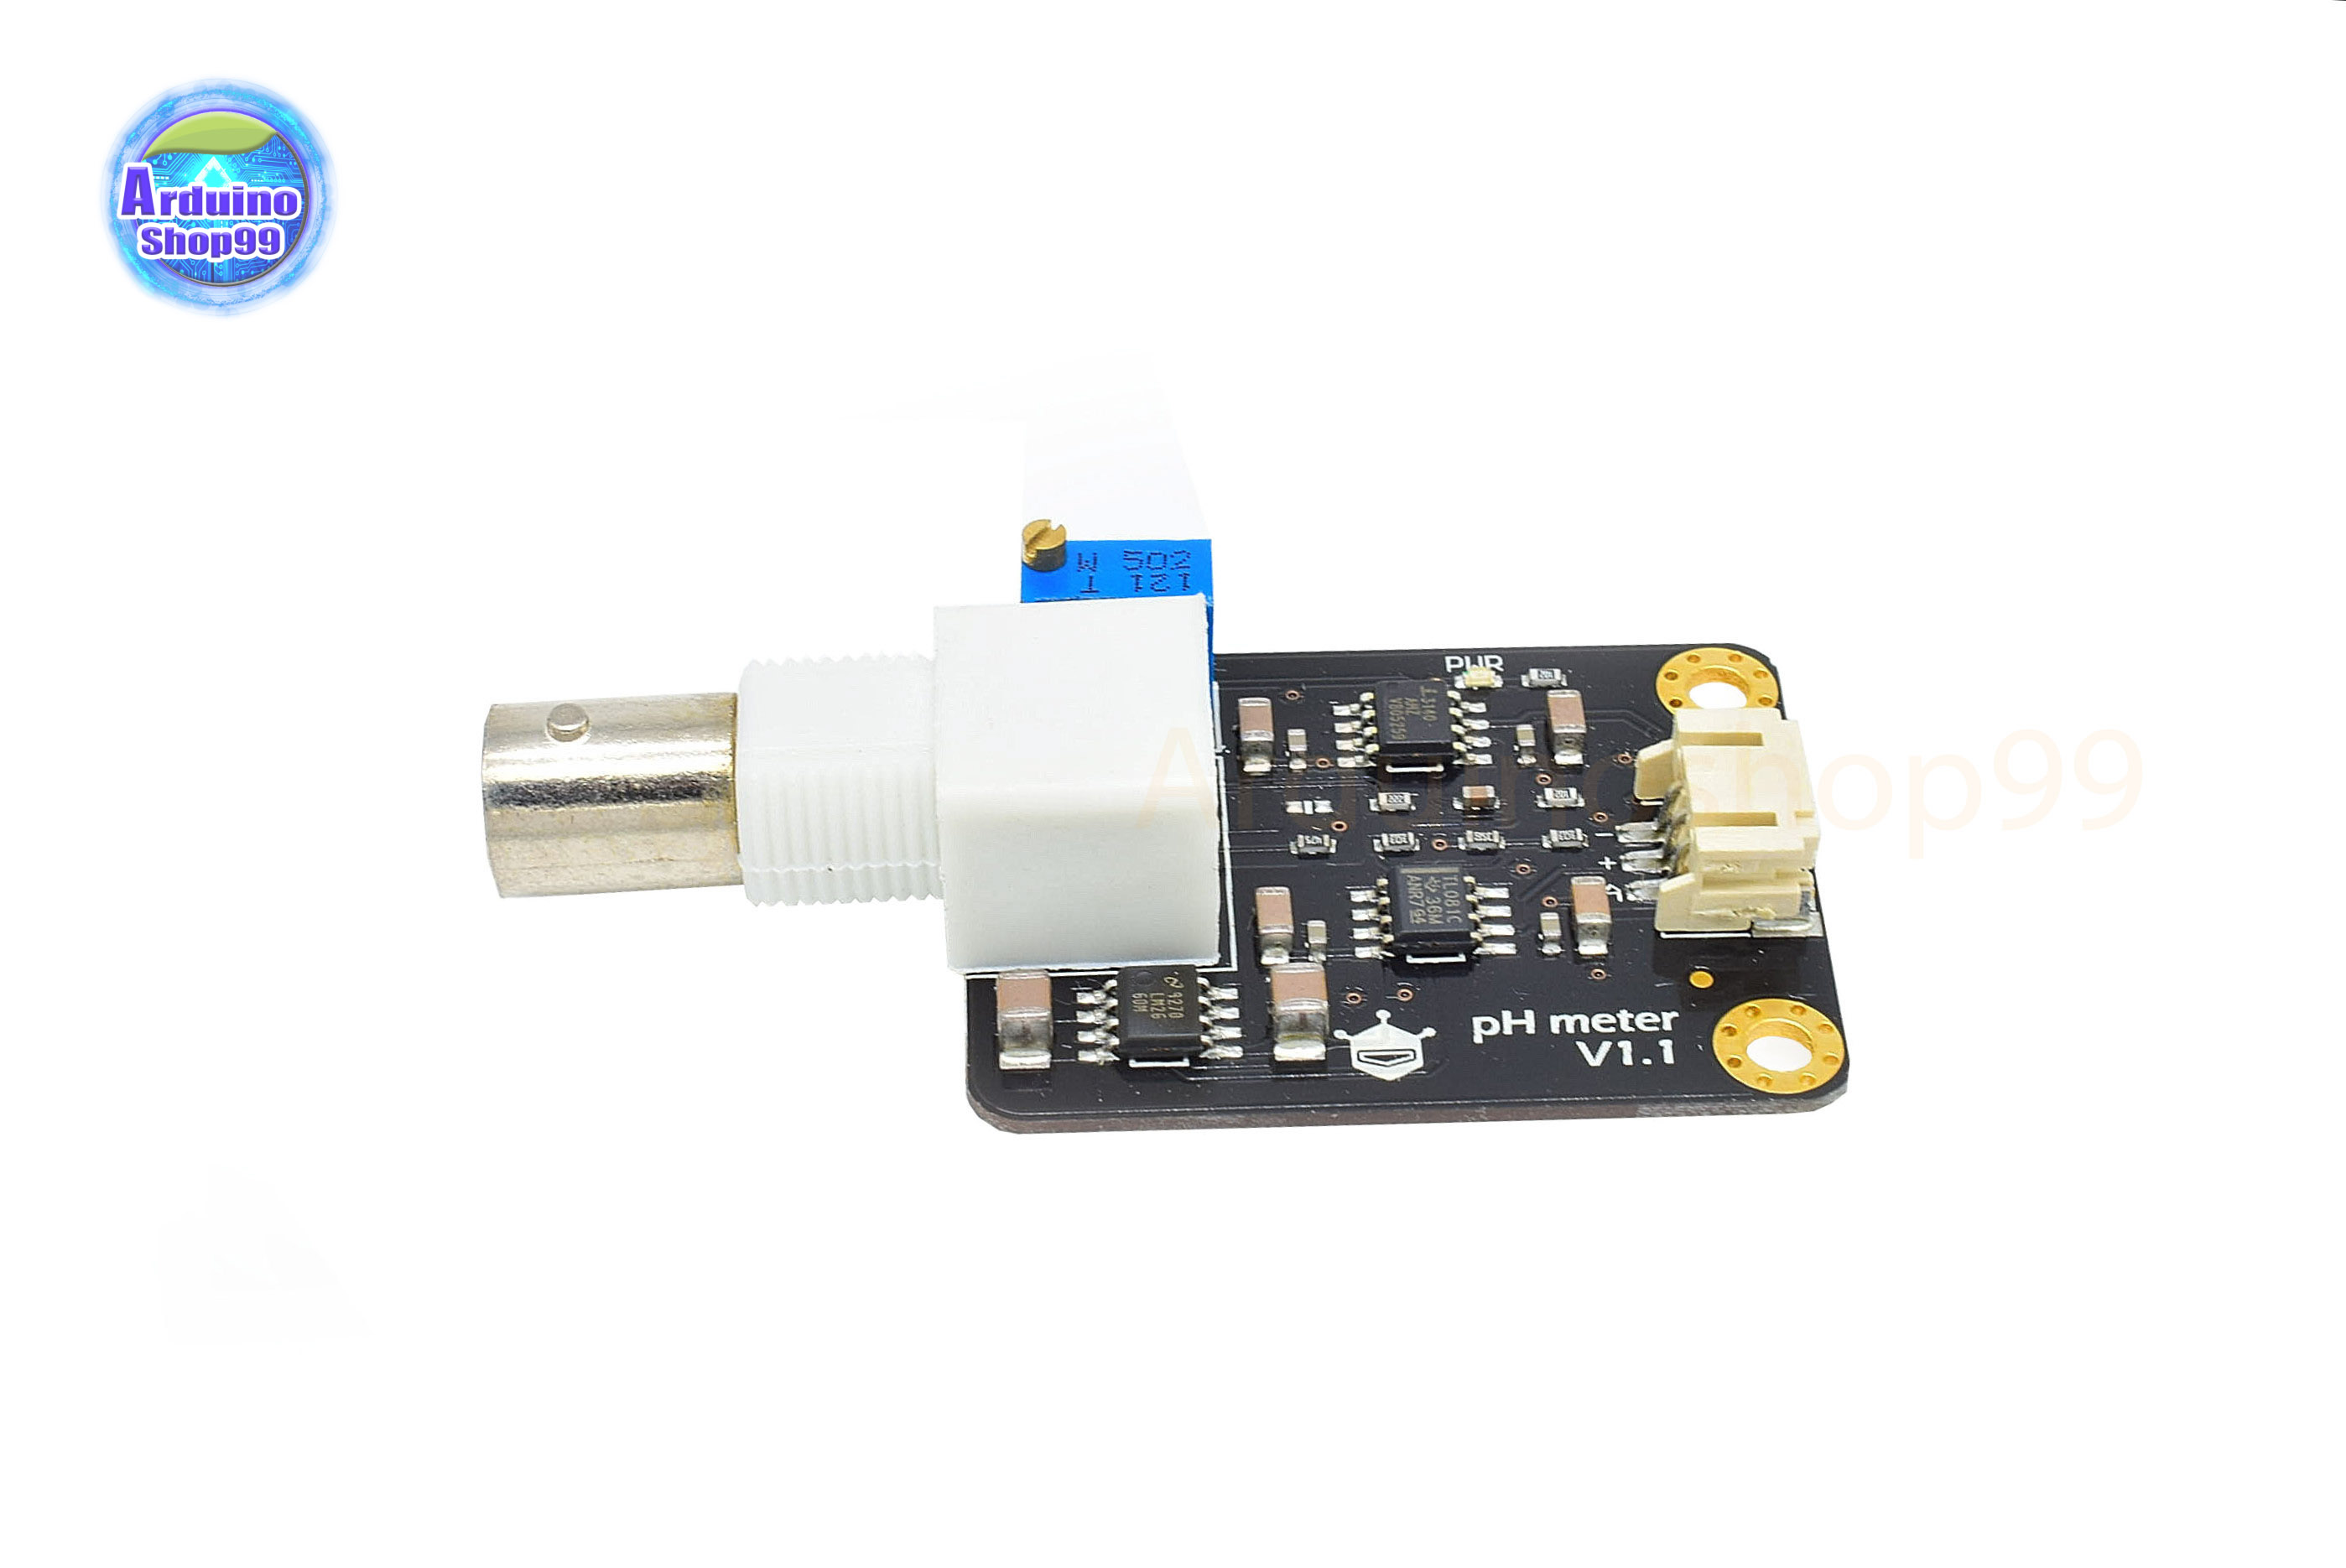
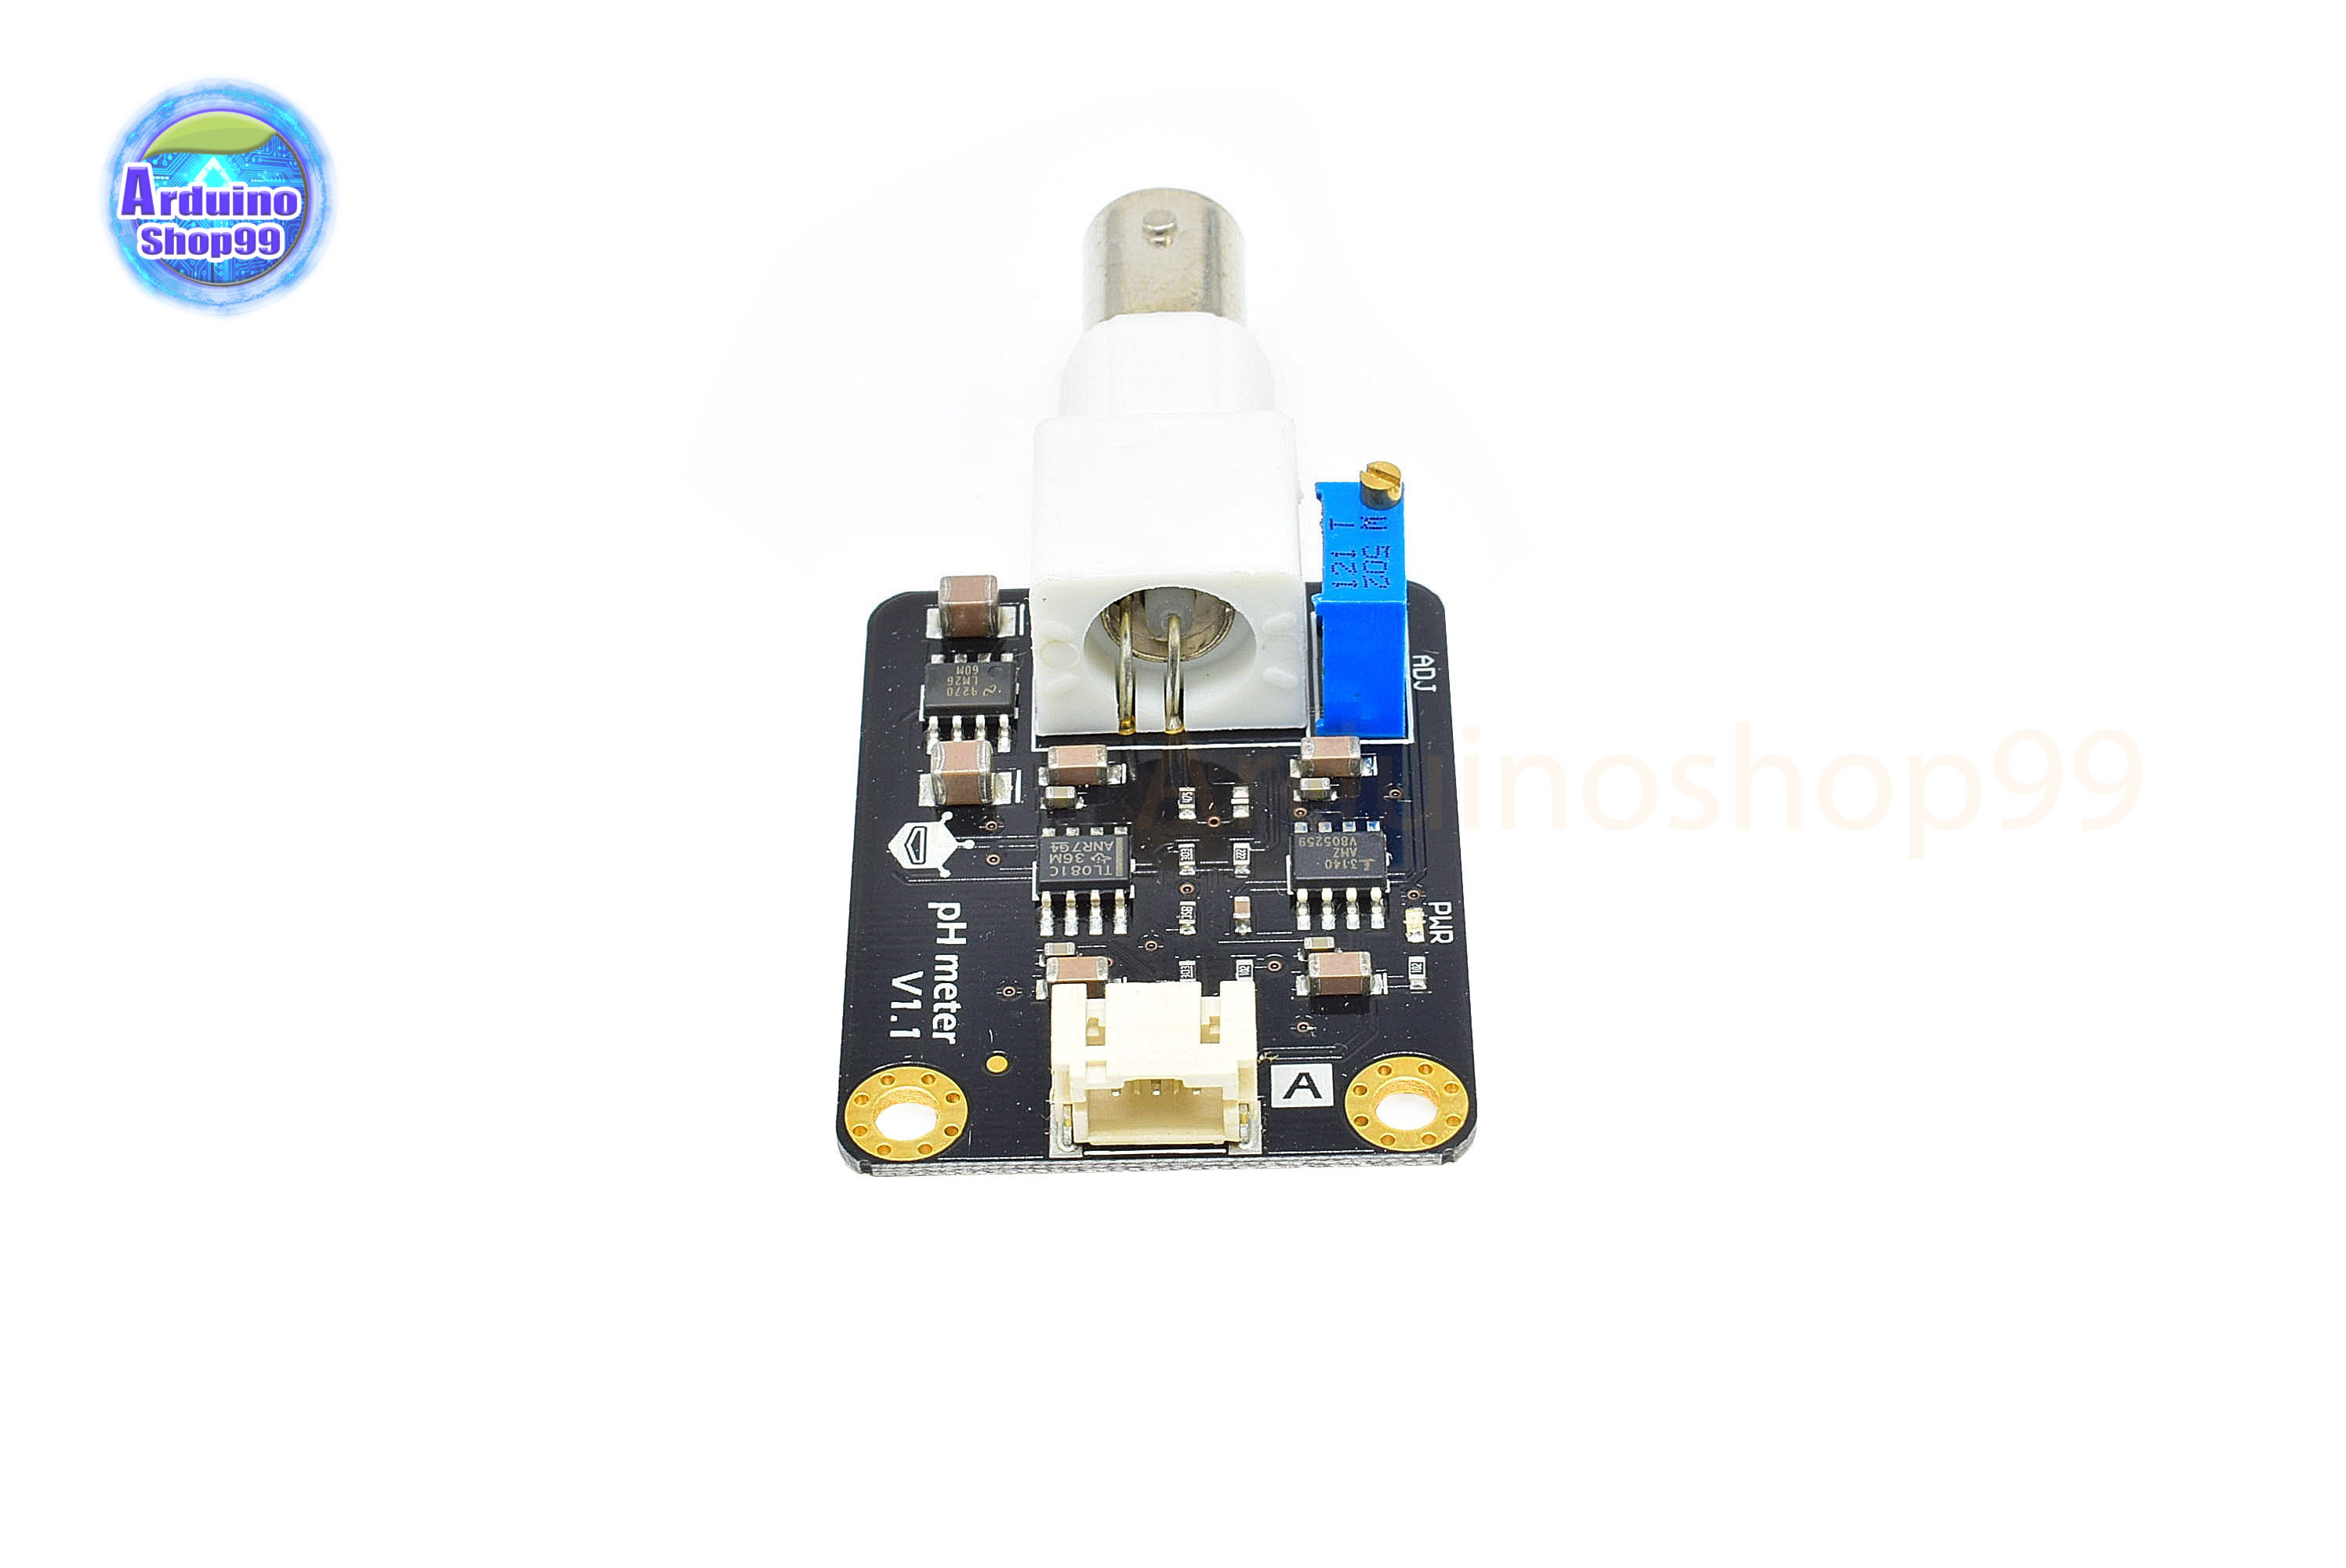
Board Overview
pH Electrode Size
https://www.youtube.com/watch?v=dfoH5iPWkwo&t=18shttps://wiki.dfrobot.com/Analog_pH_Meter_Pro_SKU_SEN0169  pH Electrode Characteristics
The output of pH electrode is Millivolts, and the pH value of the relationship is shown as follows (25 ℃):  Tutorial
Connecting Diagram
 .png") Step to Use the pH Meter
Cautions:
(1) Connect equipments according to the graphic, that is, the pH electrode is connected to the BNC connector on the pH meter board, and then use the connection lines, the pH meter board is connected to the ananlong port 0 of the Arduino controller . When the Arduino controller gets power, you will see the blue LED on board is on. (2) Upload the sample code to the Arduino controller. (3)Put the pH electrode into the standard solution whose pH value is 7.00, or directly shorted the input of the BNC connector. Open the serial monitor of the Arduino IDE, you can see the pH value printed on it, and the error does not exceed 0.3 . Record the pH value printed, then compared with 7.00, and the difference should be changed into the "Offset" in the sample code. For example, the pH value printed is 6.88, so the difference is 0.12. You should change the "# define Offset 0.00 "into" # define Offset 0.12 "in your program. (4) Put the pH electrode into the pH standard solution whose value is 4.00.Then wait about one minute, adjust the gain potential device, let the value stabilise at around 4.00.At this time, the acidic calibration has been completed and you can measure the pH value of an acidic solution.Note: If you want to measure the pH value of other solution, you must wash the pH electrode first! (5) According to the linear characteristics of pH electrode itself, after the above calibration, you can directly measure the pH value of the alkaline solution, but if you want to get better accuracy, you can recalibrate it. Alkaline calibration use the standard solution whose pH value is 9.18.Also adjust the gain potential device, let the value stabilise at around 9.18. After this calibration, you can measure the pH value of the alkaline solution.
        |
| เงื่อนไขอื่นๆ |
|
| Tags |
วิธีการชำระเงิน

ชำระเงินผ่านธนาคาร
ชำระเงินด้วยการ Scan QR


สนธยา ใจผ่อง
063-xxxxxx-8
Accept All Banks | รับเงินได้จากทุกธนาคาร


สินค้าในตะกร้า ({{total_num}} รายการ)

ขออภัย ขณะนี้ยังไม่มีสินค้าในตะกร้า
ราคาสินค้าทั้งหมด
฿ {{price_format(total_price)}}
- ฿ {{price_format(discount.price)}}
ราคาสินค้าทั้งหมด
{{total_quantity}} ชิ้น
฿ {{price_format(after_product_price)}}
ราคาไม่รวมค่าจัดส่ง
รวมภาษีมูลค่าเพิ่มแล้ว
➜ เลือกซื้อสินค้าเพิ่ม