


รายละเอียดสินค้า
| ข้อมูล |
น้ำหนัก
บาร์โค้ด
ลงสินค้า
อัพเดทล่าสุด
|
| รายละเอียดสินค้า |
โมดูลบอร์ด DC-DC 4.0 - 38V to 1.25V - 36V XL4015E Module Step Down 5A Max ปรับ Volt และ Current ได้ที่ตัวต้านทาน ให้เอาท์พุทคงที่ แม้อินพุทจะไม่คงที่
Module parameters Input voltage : 4-38V
Output voltage: 1.25-36V continuously adjustable
Output current: adjustable, maximum 5A
Output power: max 75W
Working temperature: -40~+85 degrees
Working frequency: 180KHz
Conversion efficiency: up to 96%
Short circuit protection: Yes (limited current 8A)
Over-temperature protection: Yes (automatically shut down the output after over-temperature)
Input reverse connection protection: None, (if necessary, please insert a high-current diode in series in the input)
Installation: . 4 Ke 3mm screws
Wiring mode: wiring terminal or welding terminal, V-IN is input, V-OUT is output
Module size: length 61.7mm width 26.2mm height 15mm
Weight: 25 g
Er Second, the scope of application
1. Use as an ordinary step-down module with over-current protection capability
Instructions:
( 1 ) Adjust the constant voltage potentiometer to make the output voltage reach the voltage value you want
( 2 ) with a multimeter 10A current file measurement output short circuit current (two lead directly to the output node can) , while adjusting the constant current potentiometer output current reaches a predetermined overcurrent value. (For example, the current value displayed by the multimeter is 4A , then the maximum current when you use the module can only reach 4A , when the current reaches 4A , the red constant voltage constant current indicator will be on, otherwise the indicator will be off)
Note: When used in this state, since the output terminal has a current sampling resistor of 0.05 ohm, there will be a voltage drop of 0~0.3V after the load is connected . This is a normal phenomenon! This voltage drop is not pulled down by your load, but dropped to the sampling resistor.
2. Use as a battery charger
The module without constant current function cannot be used to charge the battery. Because the voltage difference between the exhausted battery and the charger is very large, the charging current is too large and the battery is damaged. Therefore, the battery must be used at the beginning. Current charging, when the charging reaches a certain level, it will automatically switch back to constant voltage charging.
Instructions:
( 1 ) Determine the floating voltage and charging current of the rechargeable battery you need; (If the lithium battery parameter is 3.7V/2200mAh, then the floating voltage is 4.2V , and the maximum charging current is 1C , which is 2200mA )
( 2 ) Under no-load conditions , Multimeter to measure the output voltage, adjust the constant voltage potentiometer to make the output voltage reach the float voltage; (if charging the 3.7V lithium battery, adjust the output voltage to 4.2V )
( 3 ) Use the multimeter to measure the output short-circuit current at 10A current range (directly to the two can lead to the output terminal) , while adjusting the constant current potentiometer output current reaches a predetermined charge current value;
( 4 ) transfer the charge lamp current factory default is 0.1 times the charging current; ( charging process The medium current is gradually reduced, gradually changing from constant current charging to constant voltage charging. If the charging current is set to 1A , then when the charging current is less than 0.1A , the blue light is off and the green light is on. At this time, the battery Charged )
( 5) Connect the battery and charge it.
(Steps 1 , 2 , 3 , 4 are: the input terminal is connected to the power supply, and the output terminal is not connected to the battery without load)
3. Use as a high-power LED constant current drive module
( 1 ) Determine the operating current and maximum operating voltage you need to drive the LED ;
( 2 ) Under no-load conditions, the multimeter measures the output voltage and adjusts the constant voltage potentiometer to make the output voltage reach the highest LED operating voltage;
( 3 ) Use a multimeter to measure the output short-circuit current at 10A current level, and adjust the constant current potentiometer to make the output current reach the predetermined LED operating current;
( 4 ) Connect the LED and test the machine.
(Steps 1 , 2 , and 3 are: the input is connected to the power supply, and the output is no-load without the LED light.)
Note: Please strengthen heat dissipation when this module is used over 3A and 35W ! ! ! 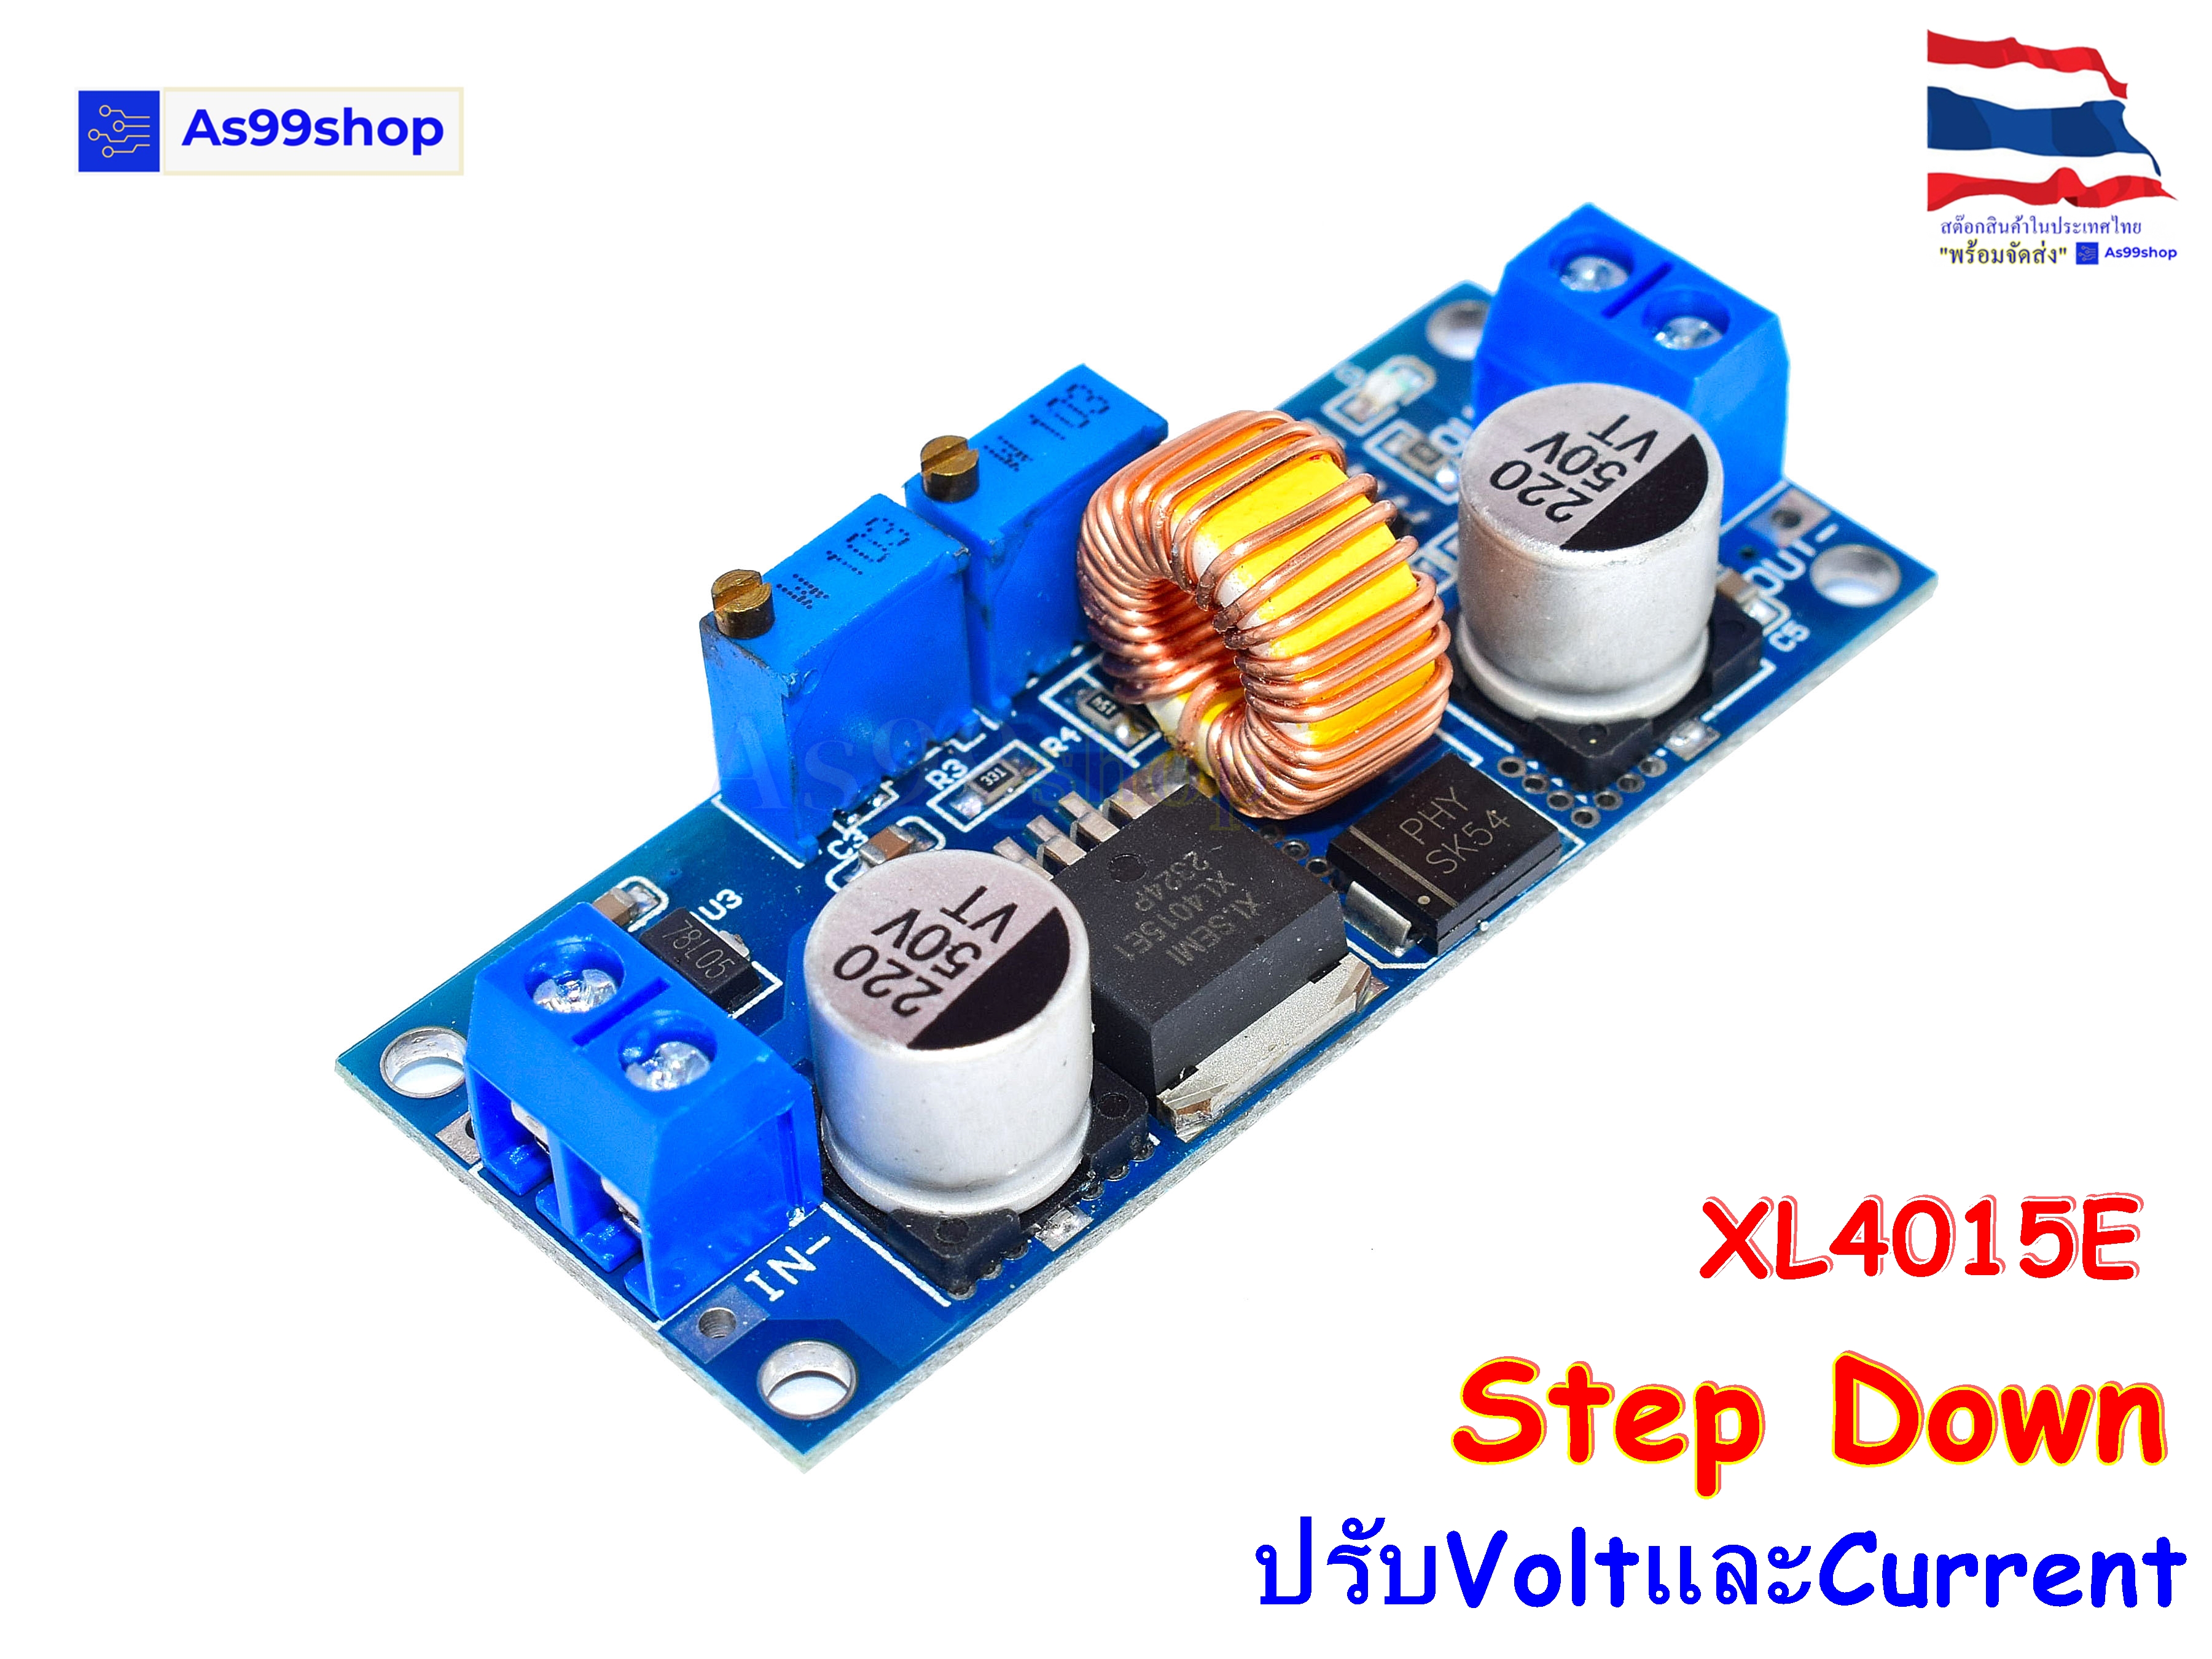    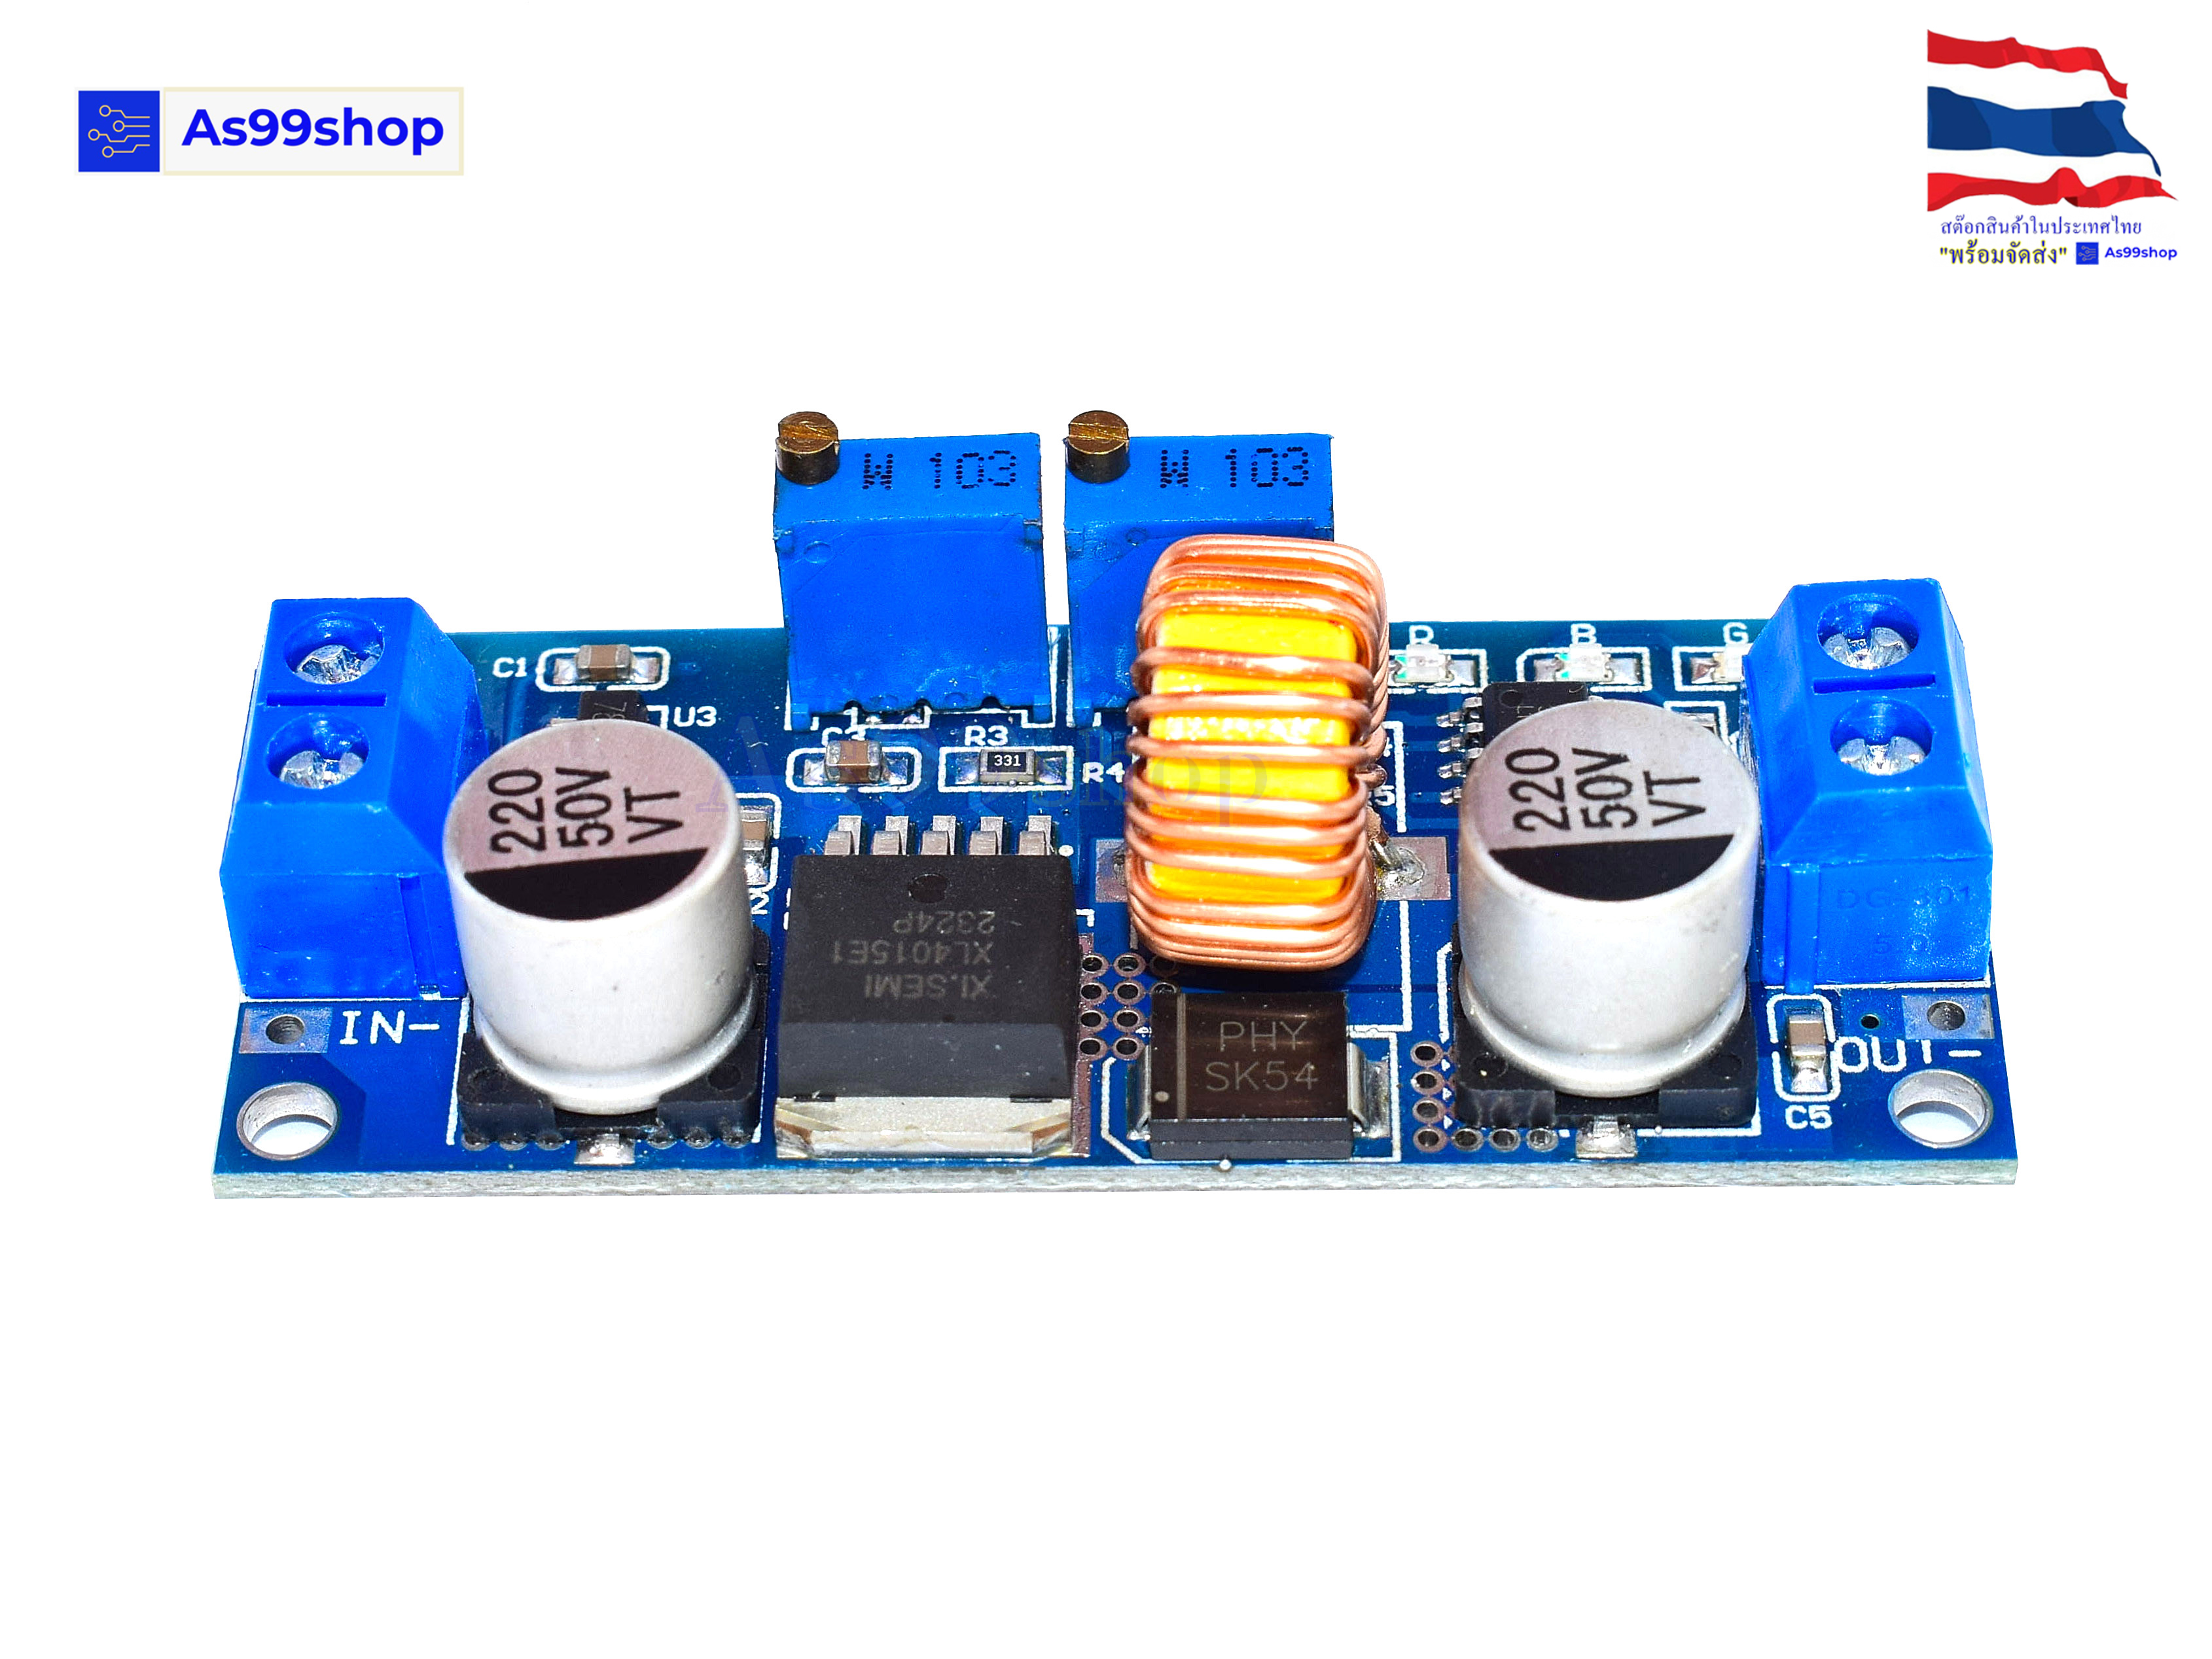   |
| เงื่อนไขอื่นๆ |
|
| Tags |
วิธีการชำระเงิน

ชำระเงินผ่านธนาคาร
ชำระเงินด้วยการ Scan QR


สนธยา ใจผ่อง
063-xxxxxx-8
Accept All Banks | รับเงินได้จากทุกธนาคาร


สินค้าในตะกร้า ({{total_num}} รายการ)

ขออภัย ขณะนี้ยังไม่มีสินค้าในตะกร้า
ราคาสินค้าทั้งหมด
฿ {{price_format(total_price)}}
- ฿ {{price_format(discount.price)}}
ราคาสินค้าทั้งหมด
{{total_quantity}} ชิ้น
฿ {{price_format(after_product_price)}}
ราคาไม่รวมค่าจัดส่ง
รวมภาษีมูลค่าเพิ่มแล้ว
➜ เลือกซื้อสินค้าเพิ่ม