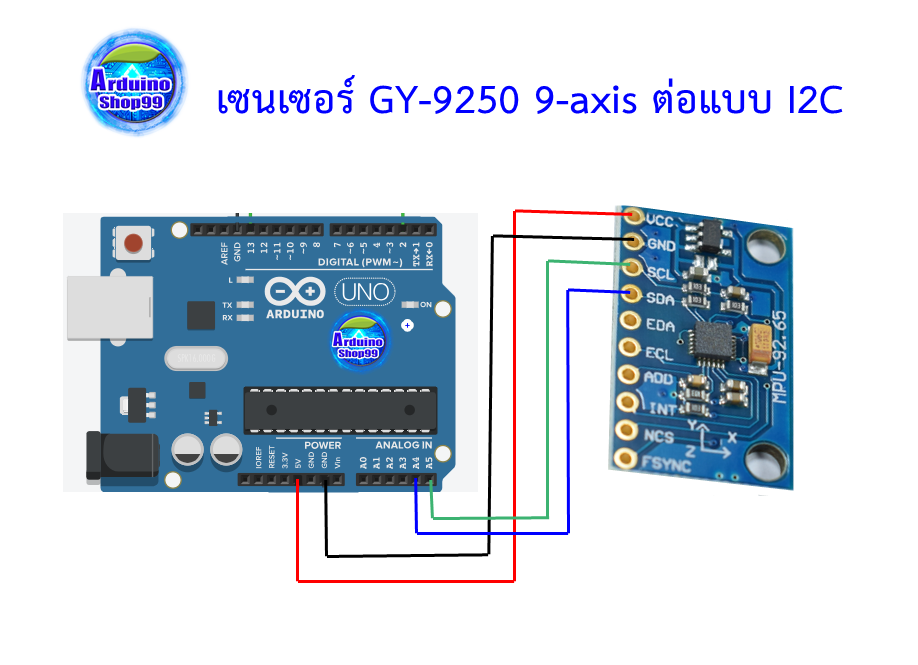
เซนเซอร์ GY-9250 9-axis สามารถวัดได้ 9 แกน ได้แก่
1. Accelerometer วัดความเร่ง 3 แกน
2. Gyroscope วัดความเร็วเชิงมุม 3 แกน
3. Magnetic field วัดสนามแม่เหล็ก 3 แกน
โดยต่อแบบ i2c หรือ SPI ใช้งานและยังวัดอุณหภูมิได้ในตัว
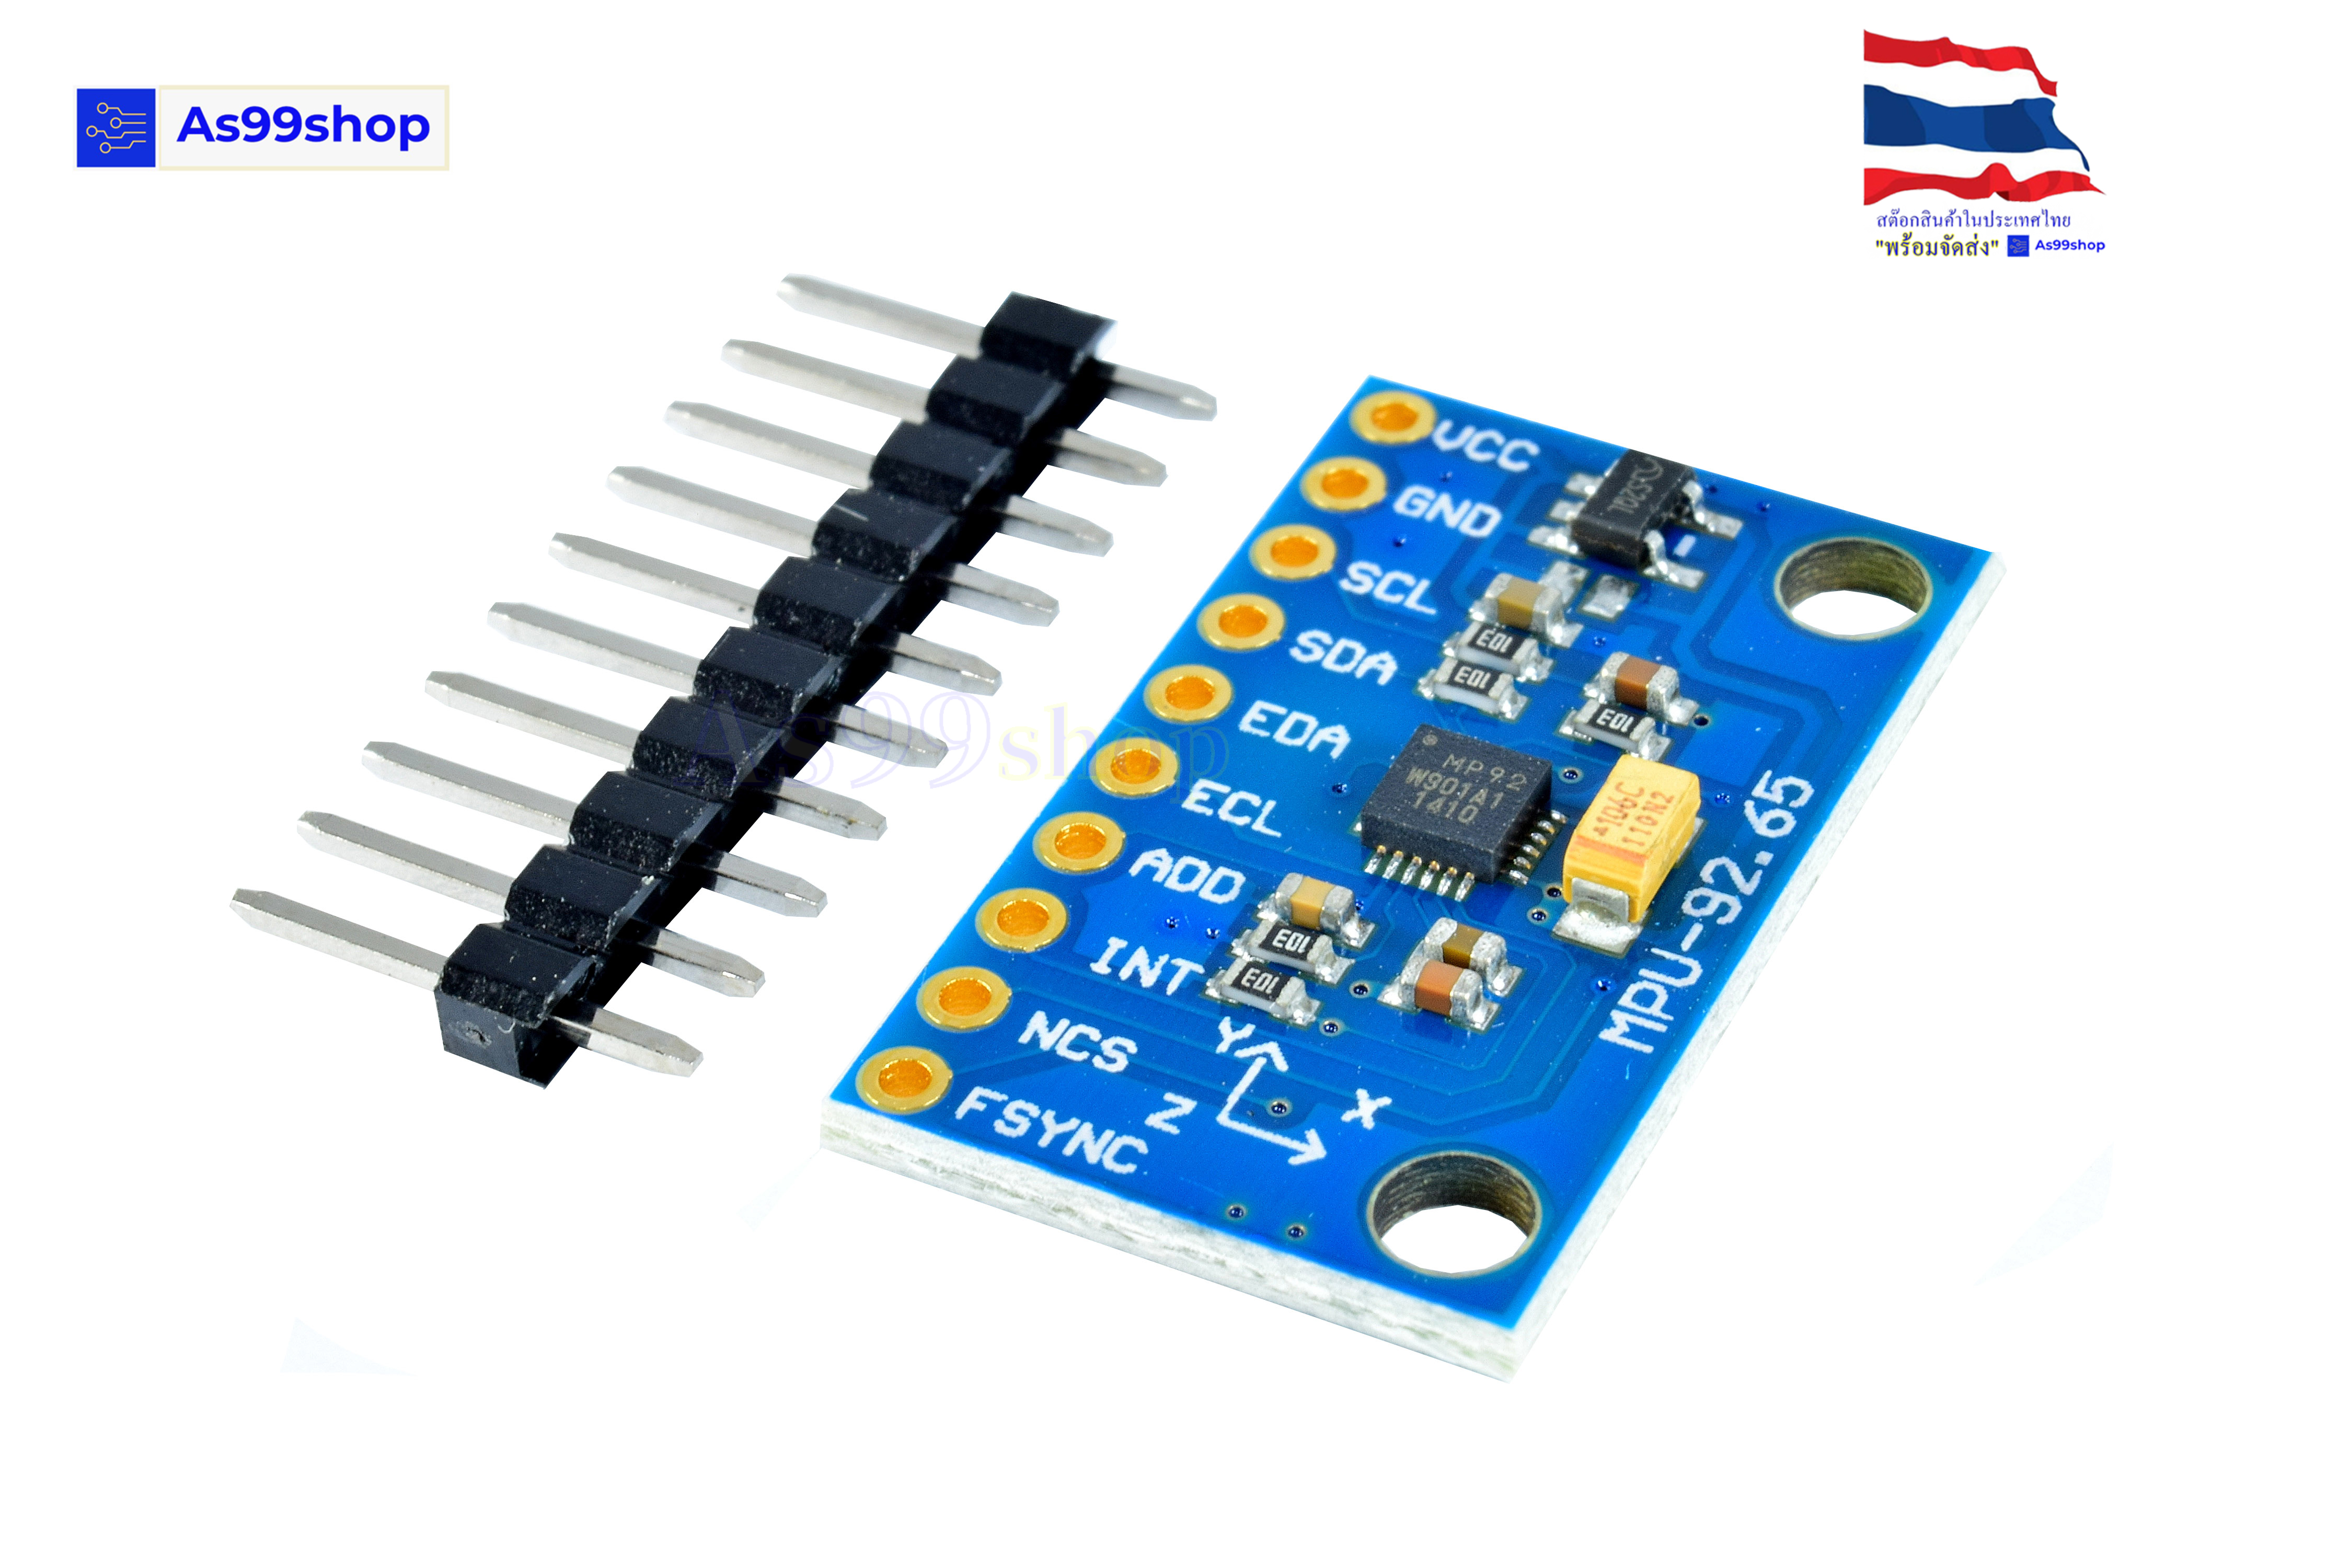
MPU-9250 module (three-axis gyroscope + three-axis acceleration + three-axis magnetic field)
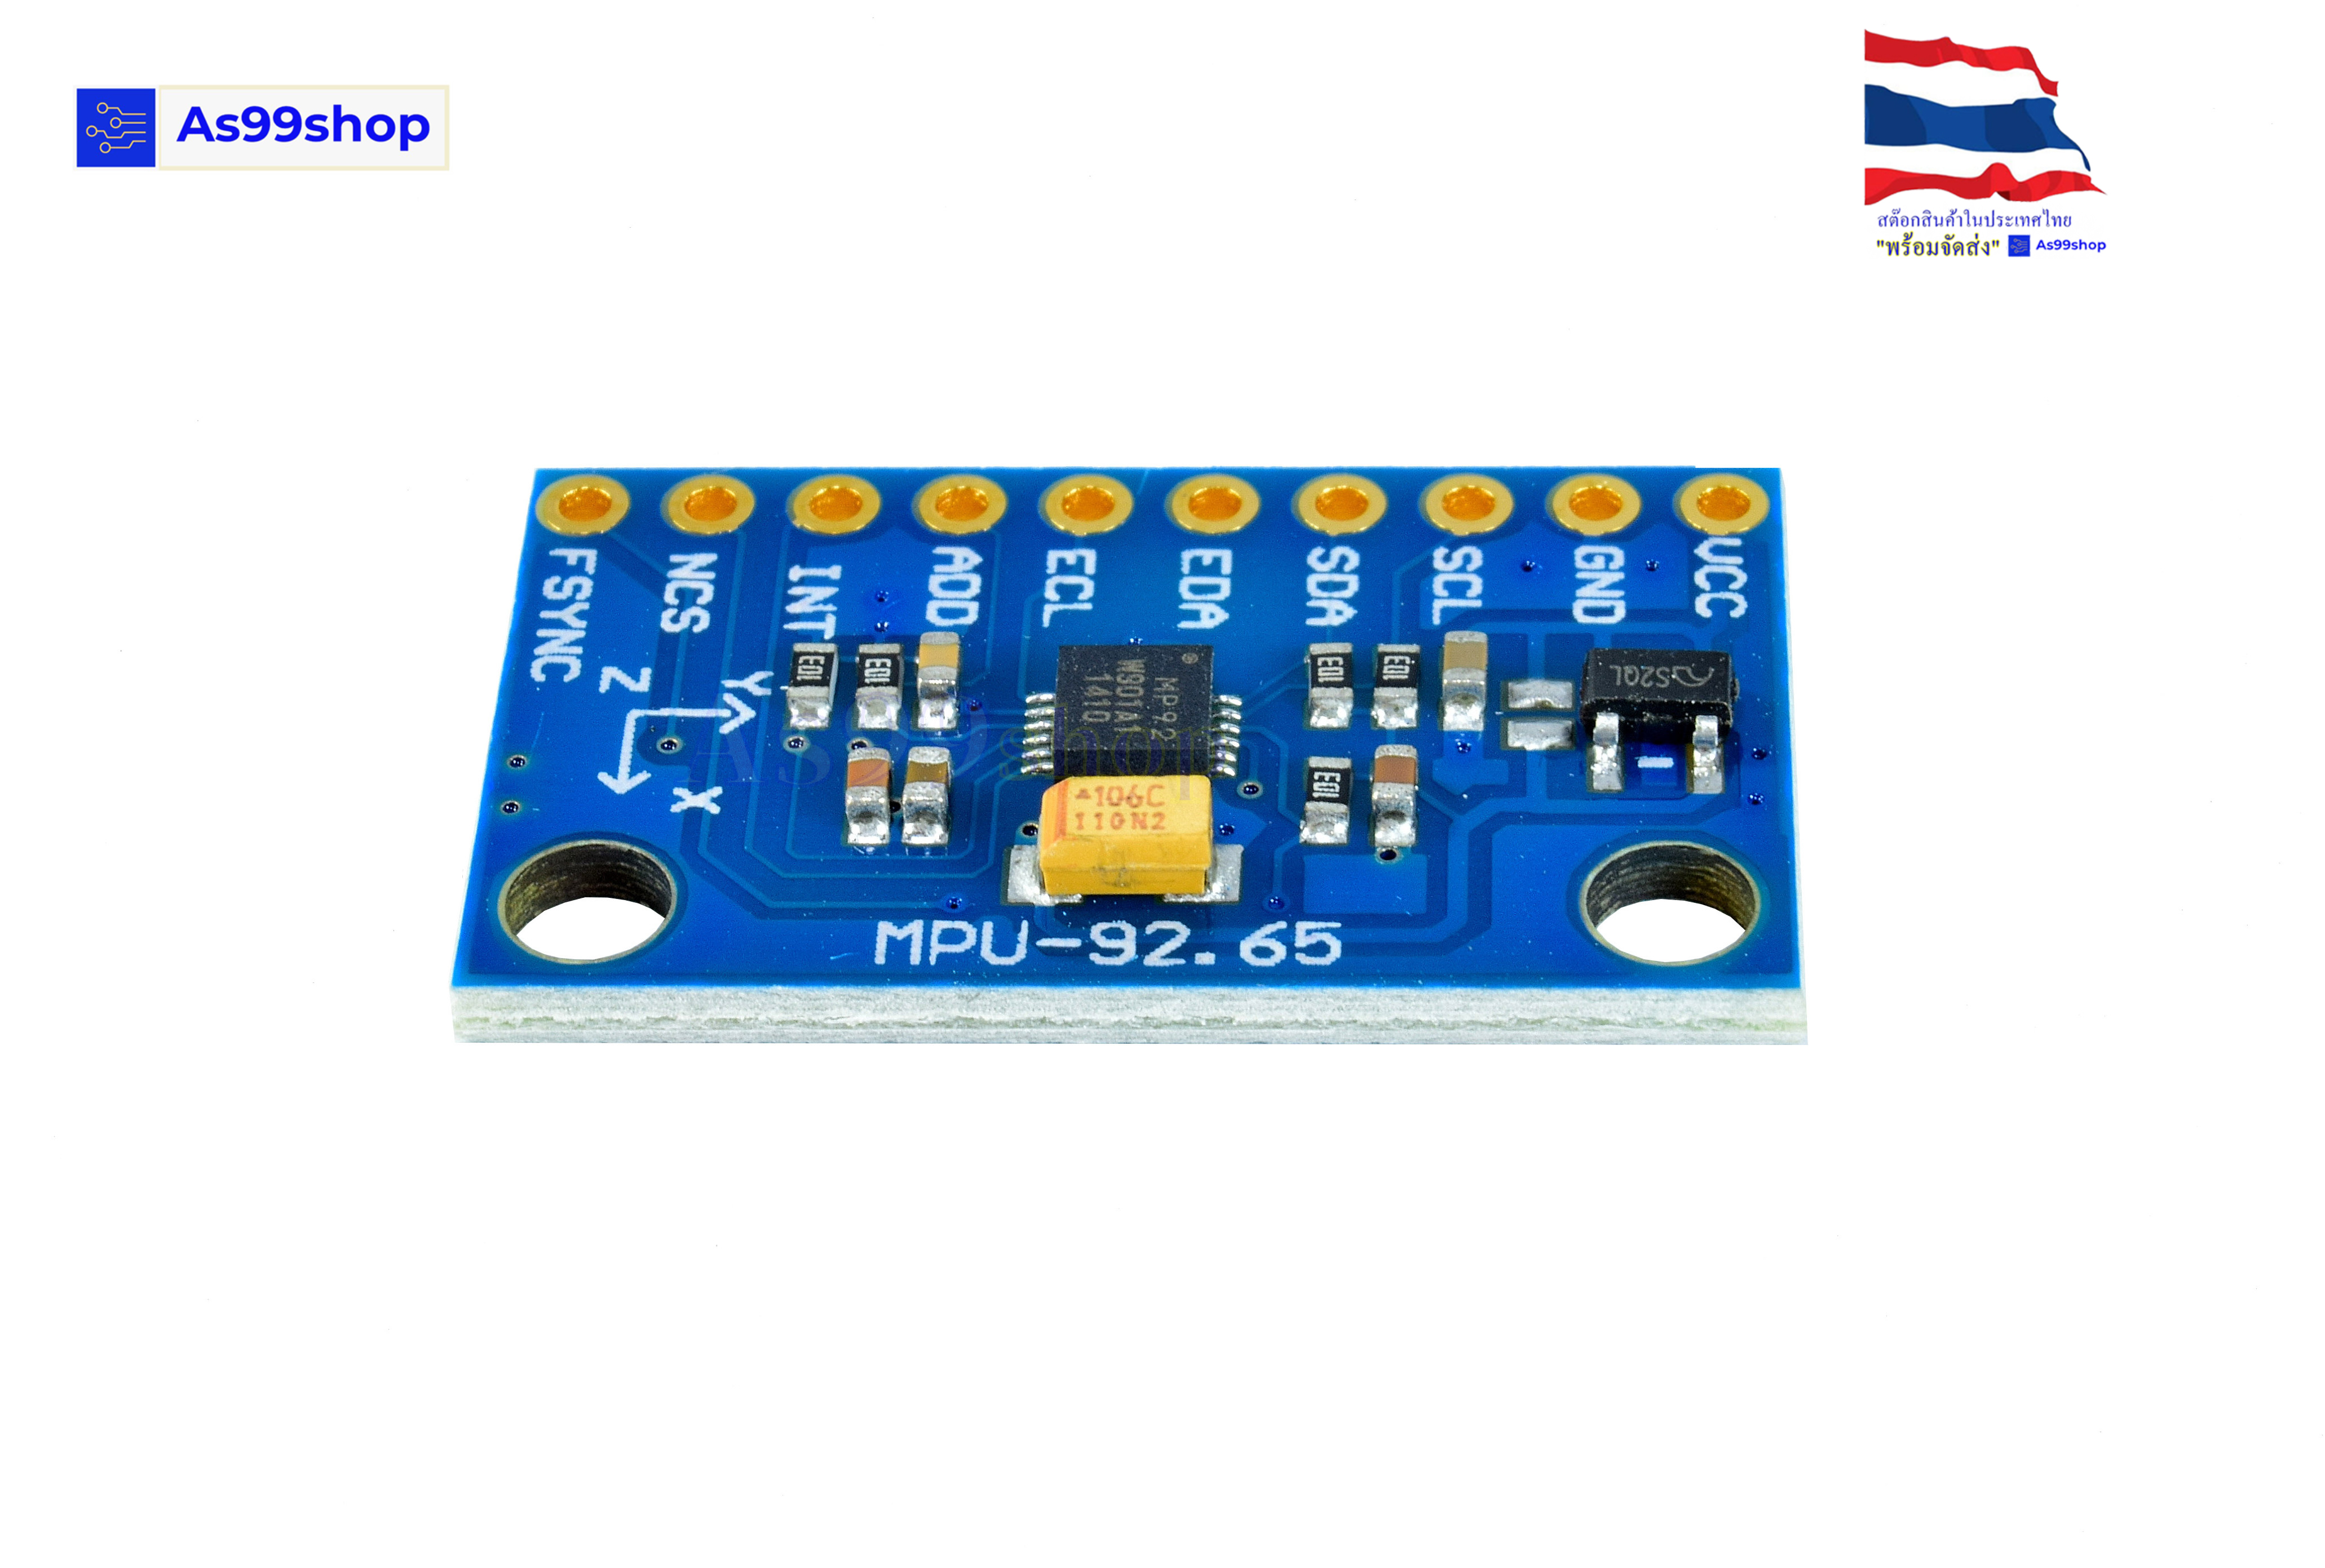
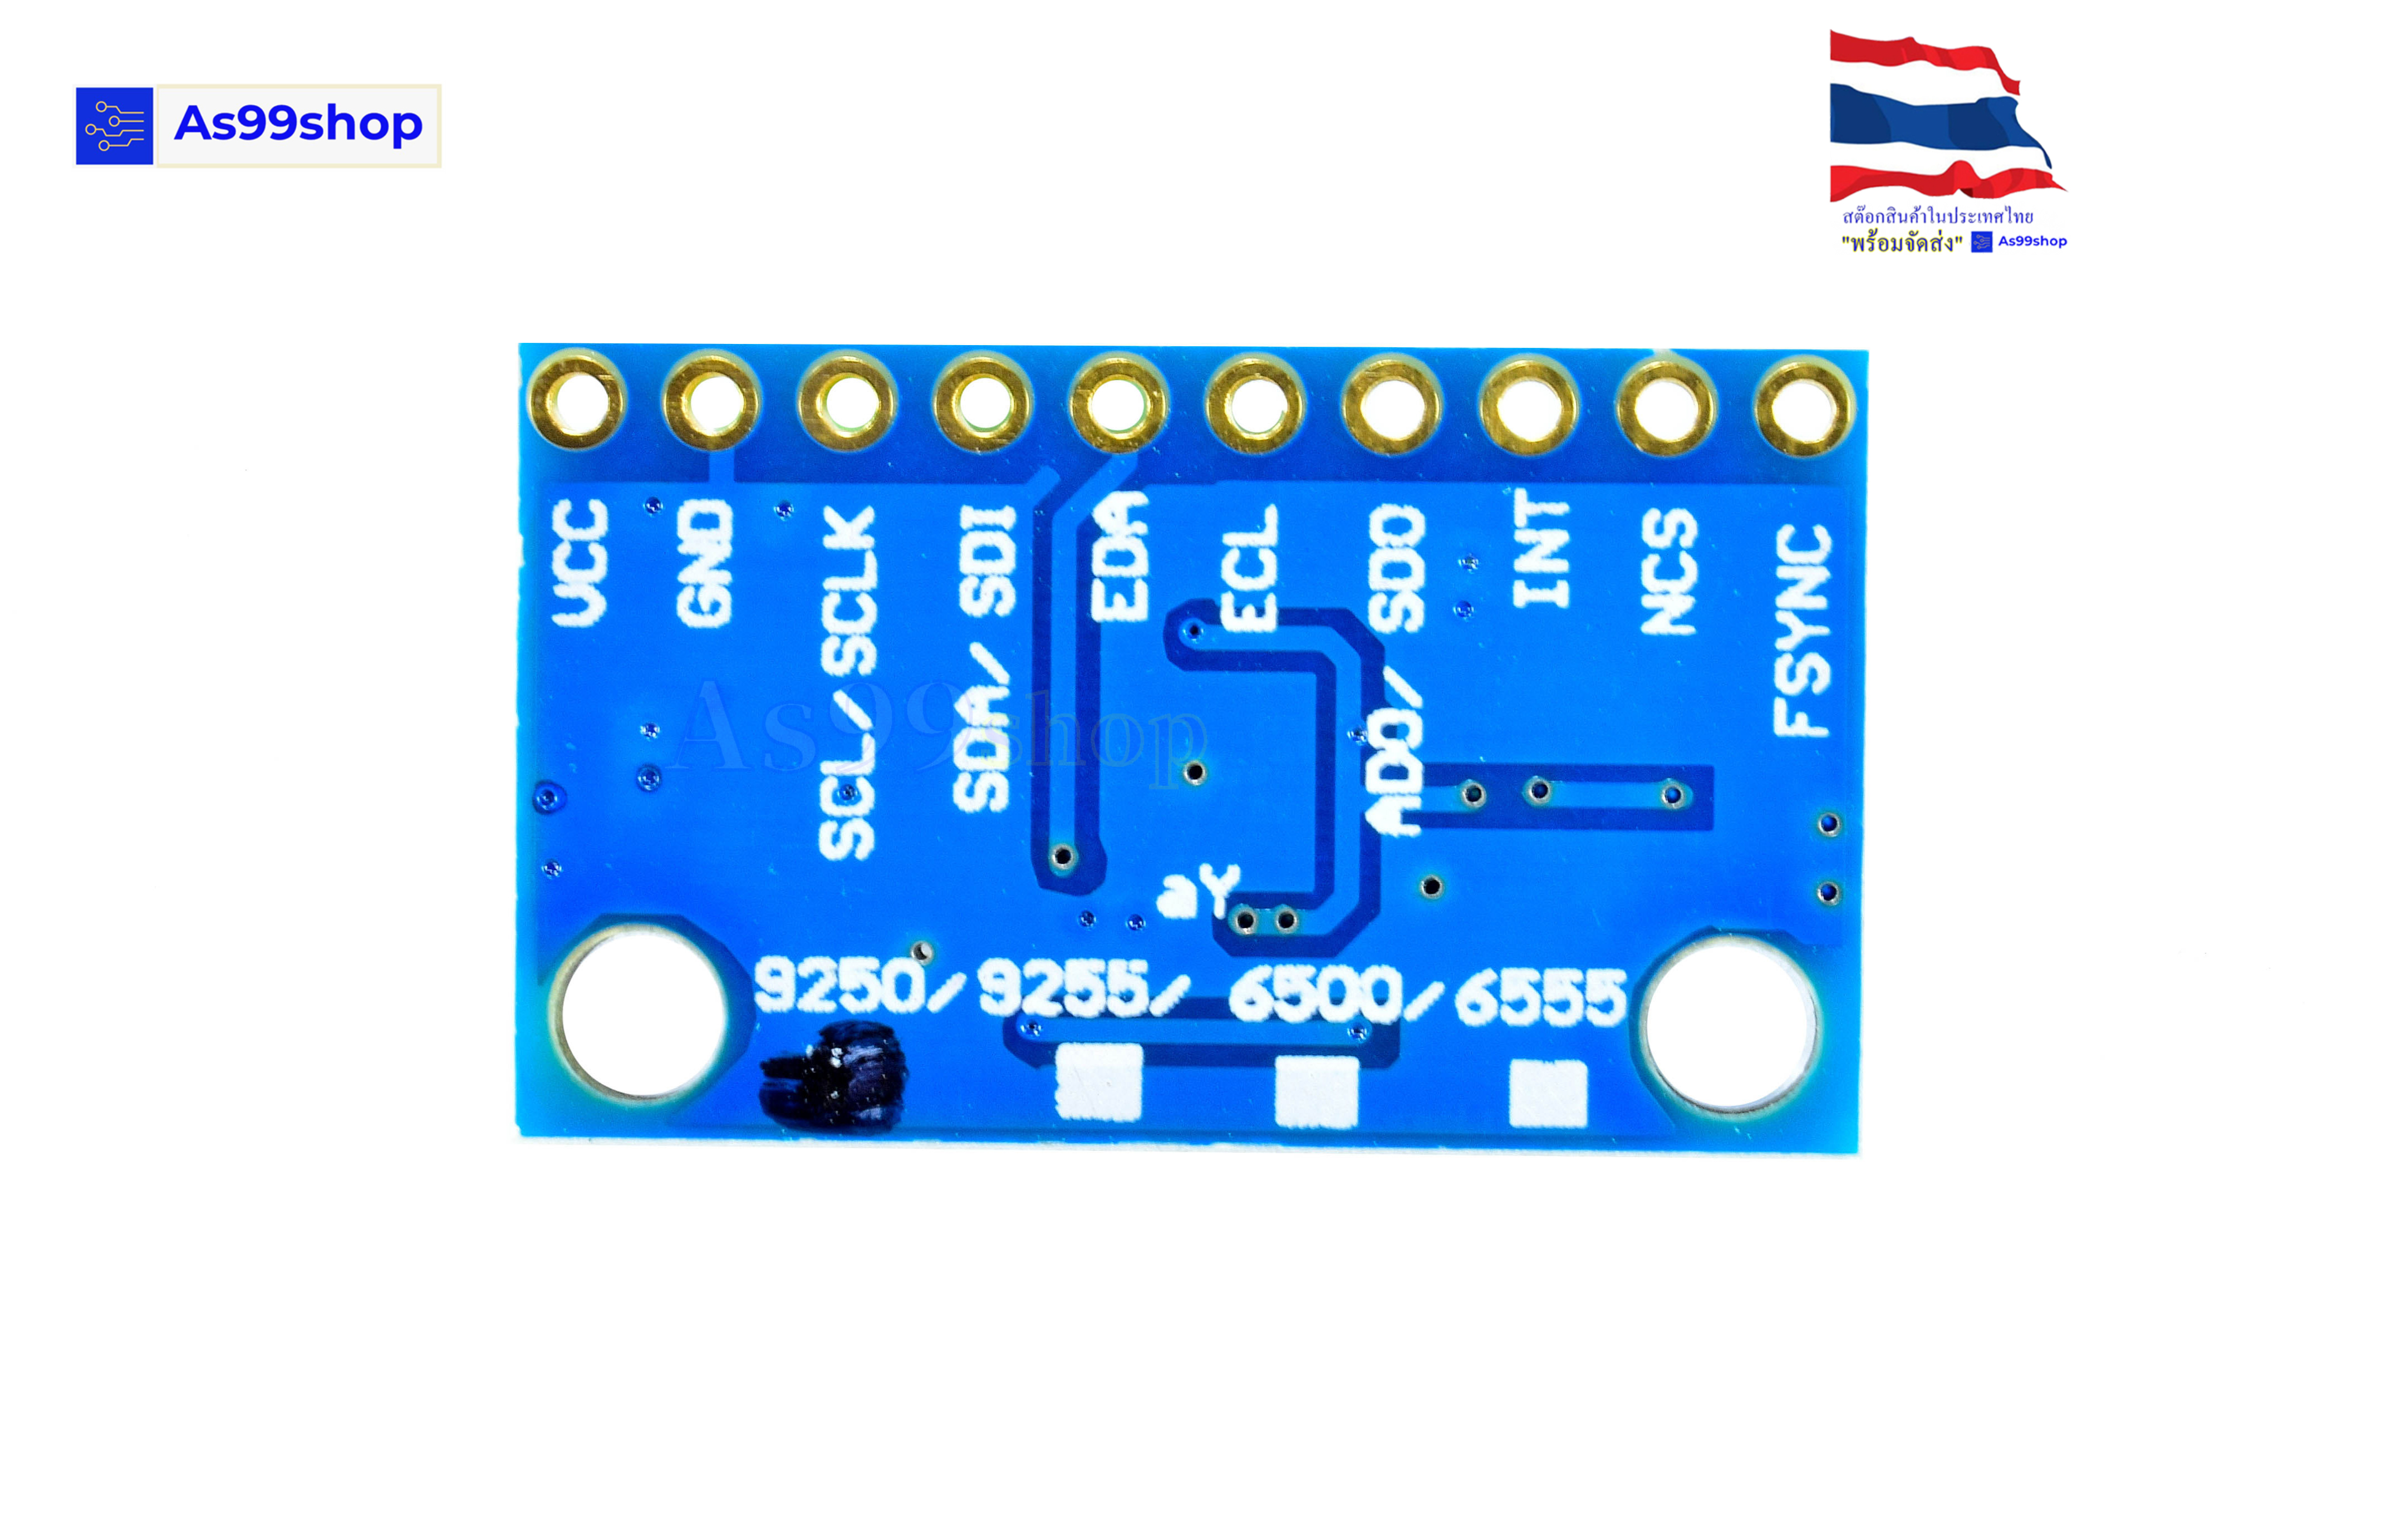
Module model : GY-9250
Using the chip: MPU-9250
Power supply: 3-5v (internal low dropout voltage regulation)
Communication method: standard IIC communication protocol
Chip built-in 16bit AD converter, 16-bit data output
Gyro range: ±250 500 1000 2000 °/s
Acceleration range: ± 2 ± 4 ± 8 ± 16g
Magnetic field range: ±4800uT
Adopting Shenjin PCB, the machine welding process guarantees the quality
Pin pitch 2.54mm
Module size 15 mm *25mm
InvenSense's second-generation 9-axis combination sensor integrates a 6-axis inertial measurement unit (accelerometer + gyroscope) and a 3-axis magnetometer in a 3 mm x 3 mm QFN package, compared to the previous generation, the area is reduced. 45% smaller.
The reduction in package size is due to the design of the 3-axis gyroscope chip. The previous generation of the three sensing axes of the Meisheng Gyro uses three different structural designs, and the current gyroscope adopts a single structure design. This new design reduces the gyroscope area by 40%. In addition, the Nasiri process has changed: in the past, in order to ensure the movement of the MEMS structure, the cavity was usually etched in the ASIC chip, but now this step is not required, resulting in cost reduction.
The MPU-9250 integrates the AKM magnetometer AK8963. Compared to the previous generation, the area is reduced by 40% and the sensitivity is increased to 0.15μT/LSB.
Https://blog.csdn.net/suxiang198/article/details/75529921
load :https://github.com/bolderflight/MPU9250
Code:ตัวอย่าง
#include "MPU9250.h"
// an MPU9250 object with the MPU-9250 sensor on I2C bus 0 with address 0x68
MPU9250 IMU(Wire,0x68);
int status;
void setup() {
// serial to display data
Serial.begin(115200);
while(!Serial) {}
// start communication with IMU
status = IMU.begin();
if (status < 0) {
Serial.println("IMU initialization unsuccessful");
Serial.println("Check IMU wiring or try cycling power");
Serial.print("Status: ");
Serial.println(status);
while(1) {}
}
}
void loop() {
// read the sensor
IMU.readSensor();
// display the data
Serial.print("AccelX: ");
Serial.print(IMU.getAccelX_mss(),6);
Serial.print(" ");
Serial.print("AccelY: ");
Serial.print(IMU.getAccelY_mss(),6);
Serial.print(" ");
Serial.print("AccelZ: ");
Serial.println(IMU.getAccelZ_mss(),6);
Serial.print("GyroX: ");
Serial.print(IMU.getGyroX_rads(),6);
Serial.print(" ");
Serial.print("GyroY: ");
Serial.print(IMU.getGyroY_rads(),6);
Serial.print(" ");
Serial.print("GyroZ: ");
Serial.println(IMU.getGyroZ_rads(),6);
Serial.print("MagX: ");
Serial.print(IMU.getMagX_uT(),6);
Serial.print(" ");
Serial.print("MagY: ");
Serial.print(IMU.getMagY_uT(),6);
Serial.print(" ");
Serial.print("MagZ: ");
Serial.println(IMU.getMagZ_uT(),6);
Serial.print("Temperature in C: ");
Serial.println(IMU.getTemperature_C(),6);
Serial.println();
delay(200);
}